


My name is Brandon, and I currently work as an Information Technology Consultant in the Atlanta metropolitan area.
I am not a developer, but I enjoy learning about cloud and data center technologies. I also technically own "Brandon's Cloud, LLC" as my own consulting company.
In the previous article in this series, we discussed how to install and configure the database layer, in your LAMP stack, using MySQL.
Today, we are going to finish off the LAMP stack by adding the scripting layer. This layer is where the code of your web application will run. In this demonstration, PHP will be used in this layer. However, a developer may want to use other scripting languages, such as Python or Perl.
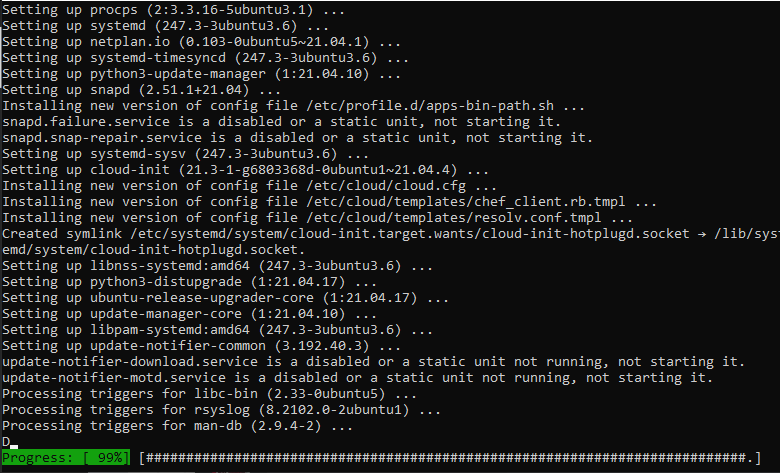
I currently have my Ubuntu Server (operating system layer) configured with Apache2 (web server layer) and MySQL (database layer). Let me check for updates and make sure that I have the latest packages. I will enter the following command:
sudu apt update & sudo apt upgrade -y
Followed by entering my password (if needed).

This will get me an updated list of Ubuntu Server packages and install any available upgrades of all packages currently installed on the system.
Now if it has been a while since I last updated, it may take a minute or two.
My next step will be to bring up the Ubuntu Server documentation on PHP. This will give me a step-by-step guide to installing the PHP service.
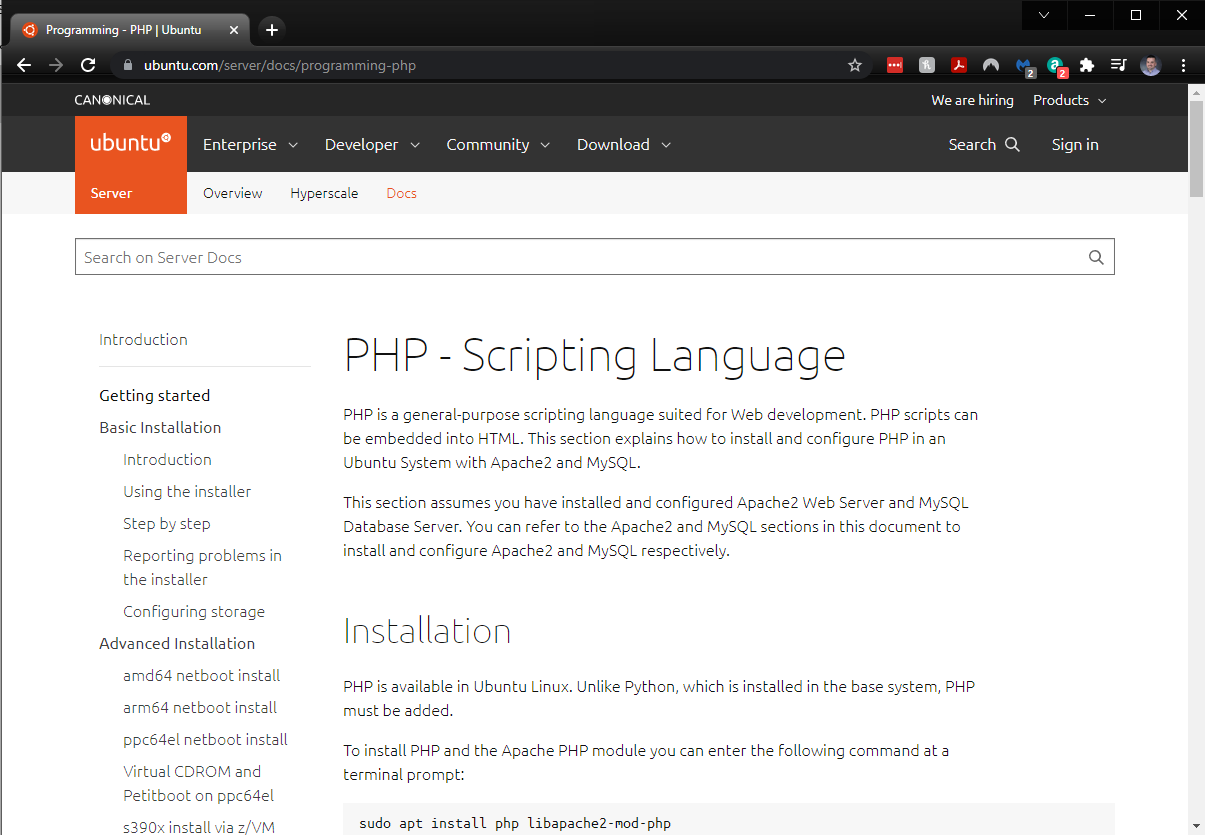
Since I already have the Apache2 Web Server and MySQL Database installed, I can refer to just the Apache2 and MySQL sections in the documentation.
To install PHP and the Apache PHP module I will enter the following command:
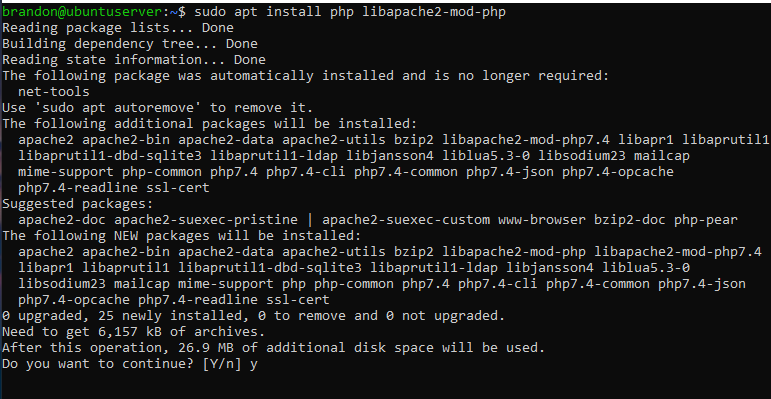
sudo apt install php libapache2-mod-php

I will then enter Y to continue with the installation.
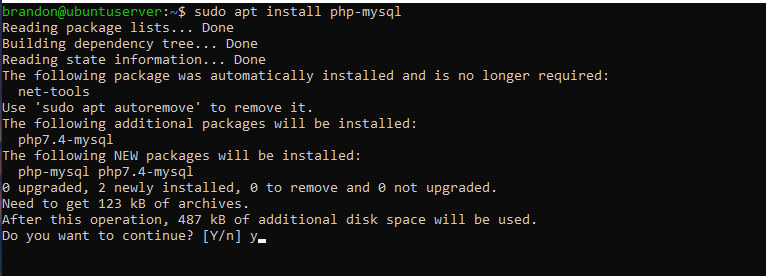
Once the installation is complete, I will then refer to the documentation to locate the command to use MySQL with PHP. To use MySQL with PHP you should install the php-mysql package with the following command:
sudo apt install php-mysql

Again, you will enter Y to continue with the installation.
When the MySQL PHP package is installed, you should restart the Apache2 Web Server to run PHP scripts. You will run the following command:
sudo systemctl restart apache2.service
You will then need to check to see if the PHP service is configured correctly. What I prefer to do is to create a phpinfo.php file in the DocumentRoot directory of the Apache2 web server. In Apache2, this directory is located at /var/www/html.
In the phpinfo.php file, I will place the following code into the file using VIM:
<?php
  phpinfo();
?>
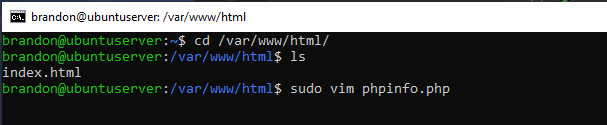
The following image shows me changing to the /var/www/html directory. Listing the contents of the directory with ls. And then creating a file using the command sudo vim phpinfo.php.
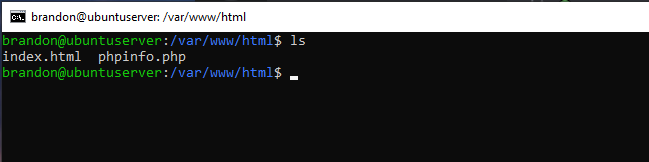
Once in VIM, I will insert and save the snippet of code. Press the letter I to switch into insert mode so that you can start editing the file.

Once you're done, press the escape key Esc to get out of insert mode and back to command mode. Type :wq to save and exit your file.

I will then enter the command ls to make sure the phpinfo.php file is in my /var/www/html directory.
I will then restart the Apache2 service with the following command:
sudo systemctl restart apache2

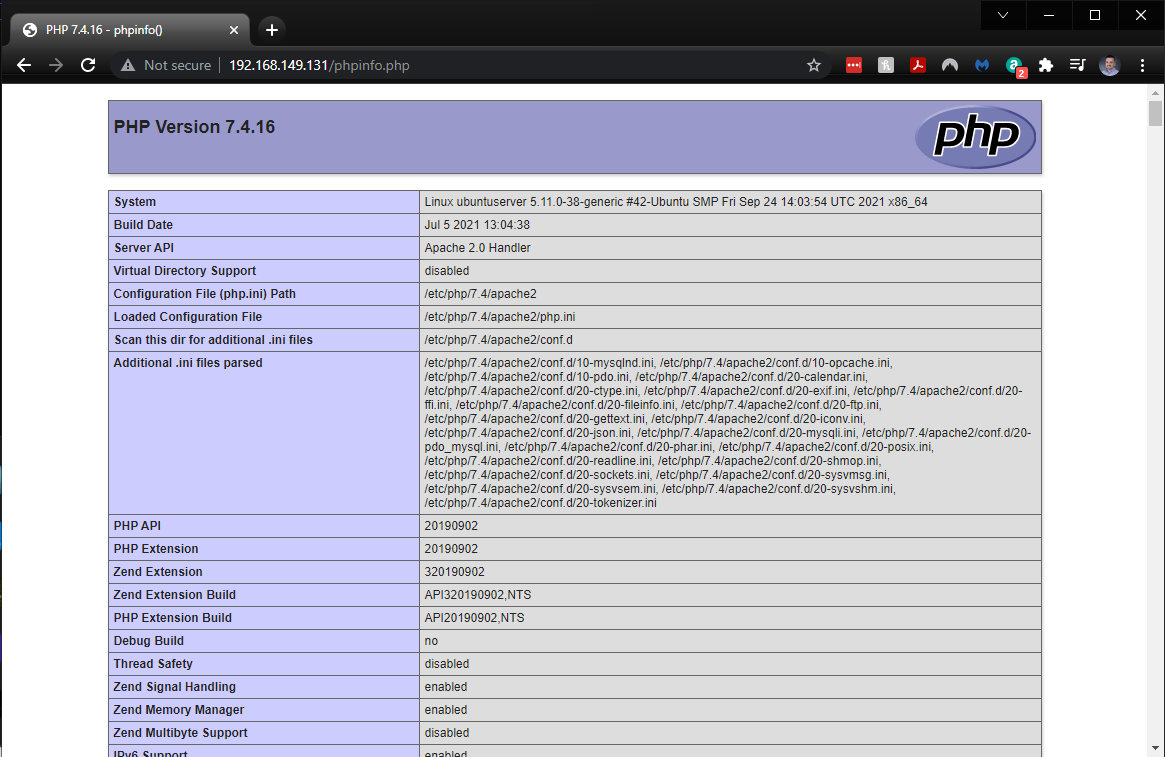
I will then call up my phpinfo.php file from my web browser. This will verify that both the Apache2 web server and the PHP service are running correctly. Point your browser to http://hostname/phpinfo.php. This will display the values of various PHP configuration parameters.
Prior to pubically deploying your application, you should remove the phpinfo.php file completely. Leaving this page on your webserver directory will give potential hackers more information on the services you are running, which may cause them to exploit known vulnerabilities. Therefore, you (as the administrator) or your developer needs to remove the file as soon as possible.
This concludes my tutorial on installing and configuring PHP on your LAMP stack. Please feel free to leave comments below!
Thanks again!


