

Basic Installation and Configuration of MySQL
Part 3: The "M" in "LAMP"

My name is Brandon, and I currently work as an Information Technology Consultant in the Atlanta metropolitan area.
I am not a developer, but I enjoy learning about cloud and data center technologies. I also technically own "Brandon's Cloud, LLC" as my own consulting company.
In the last article, we quickly discussed how to set up and configure an Apache2 web server. The next part of configuring a LAMP stack is the MySQL database.
According to the documentation, MySQL is the most popular Open Source SQL database management system and is developed, distributed, and supported by Oracle Corporation. The MySQL Database Server is very fast, reliable, scalable, and easy to use and can work in client/server or embedded systems.
Apparently, the official way to pronounce “MySQL” is “My Ess Que Ell” (not “my see-quel”). But they do not mind if you pronounce it as “my see-quel” or in some other localized way. MySQL is also named after co-founder Monty Widenius's daughter, My.

However, you can use other database alternatives in your LAMP stack such as PostgreSQL, MariaDB, or MongoDB (for a NoSQL database).
Developers, such as the one that I work with, love using MySQL and find many uses for it. In a LAMP stack, the MySQL database is used for storing application data.
So how do we install and configure MySQL for use? In this short tutorial, I will configure a MySQL database for use on an Ubuntu Server VM.
Canonical (the software company that provides commercial support and related services for the Ubuntu distribution) provides an easy-to-understand Ubuntu server documentation guide.

Another source of documentation that I will reference is the MySQL 8.0 Reference Manual. This documentation is more MySQL-specific but is very useful.
Even if I have configured the service hundreds of times, I like to have the documentation ready on a screen with me. Most times I will be doing this type of project at work and will end up with 20 different distractions before I get this completed and ready for my developer to use.
Let's first pull up the Ubuntu Server documentation on MySQL.
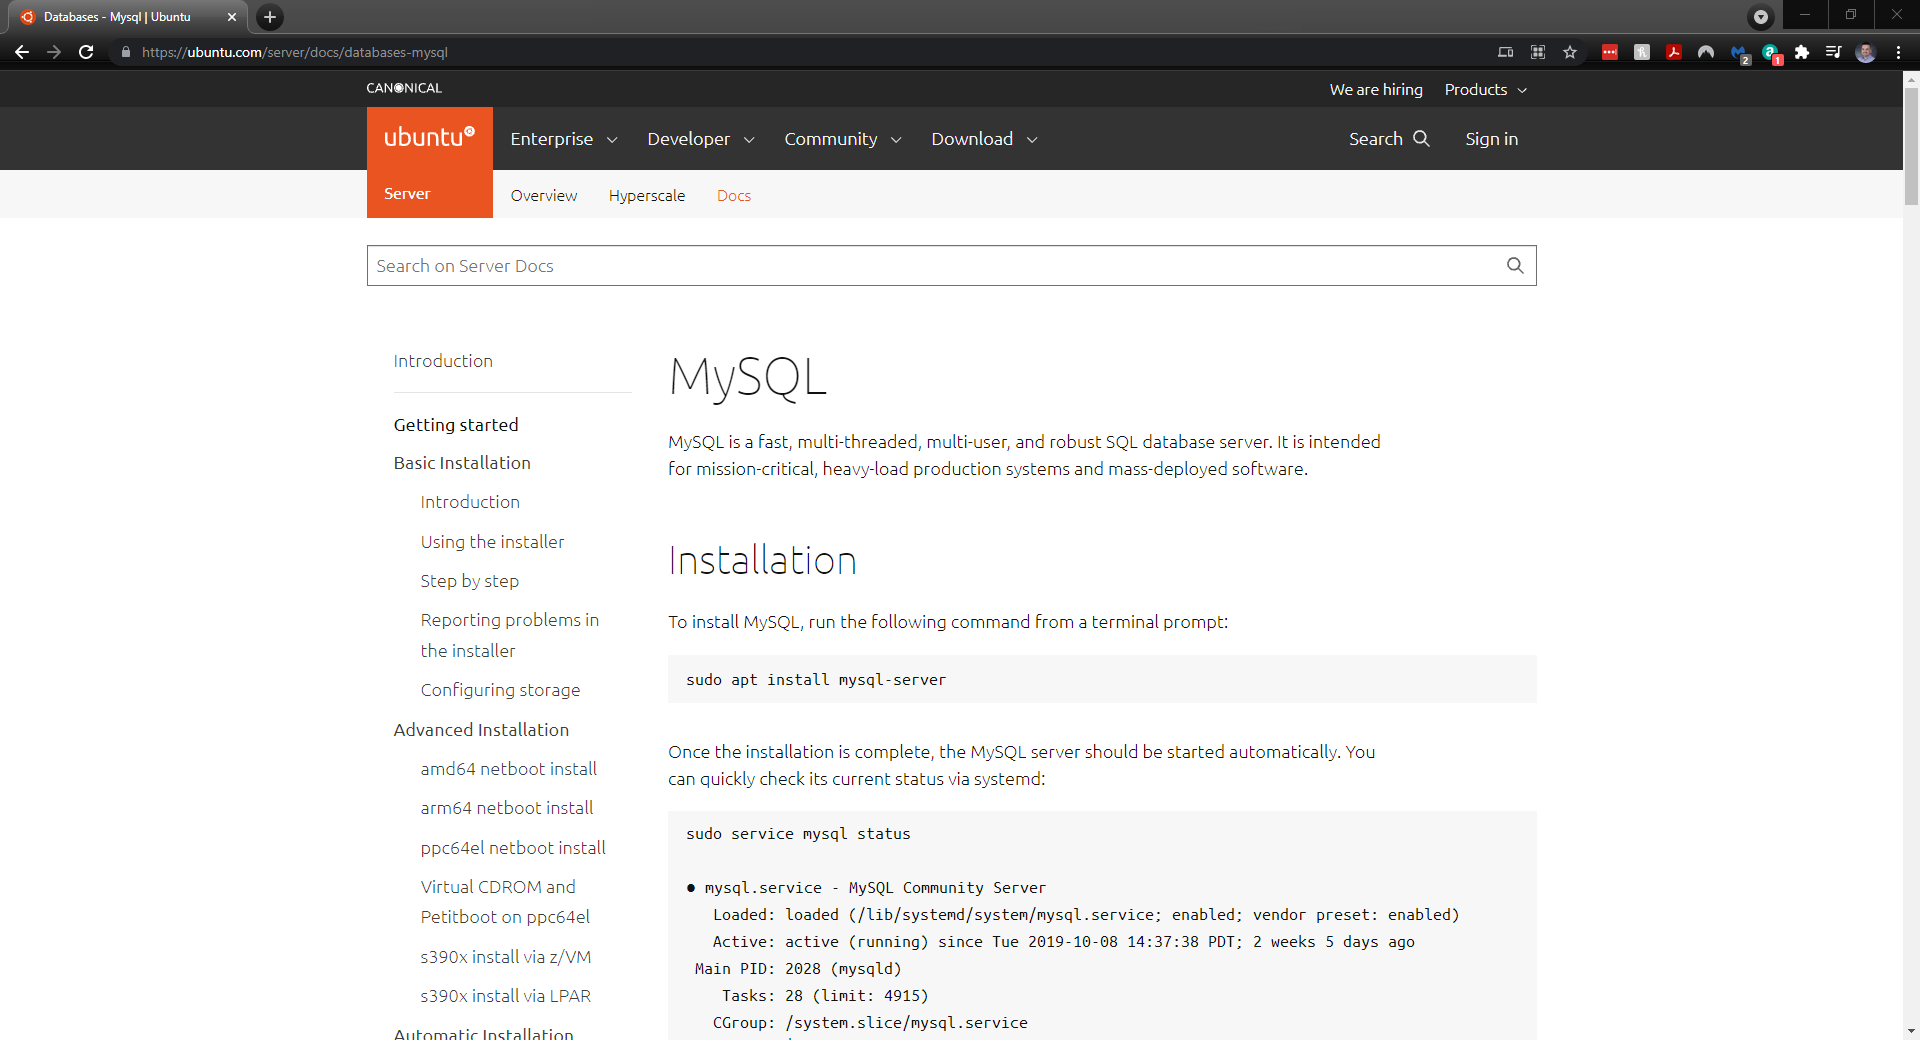
The first command looks easy enough....
sudo apt install mysql-server

Do I want to continue? Press Y for Yes.
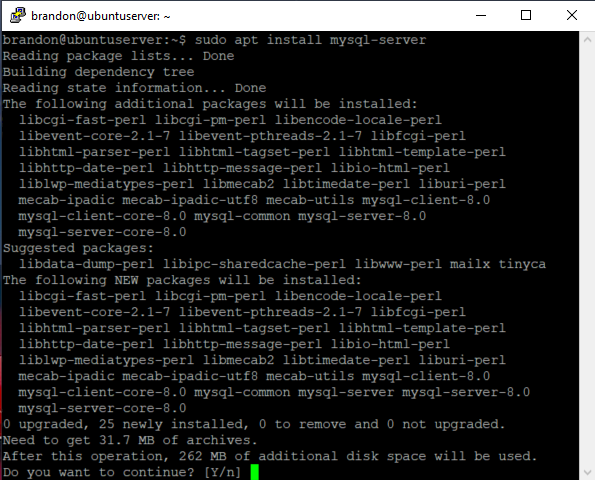
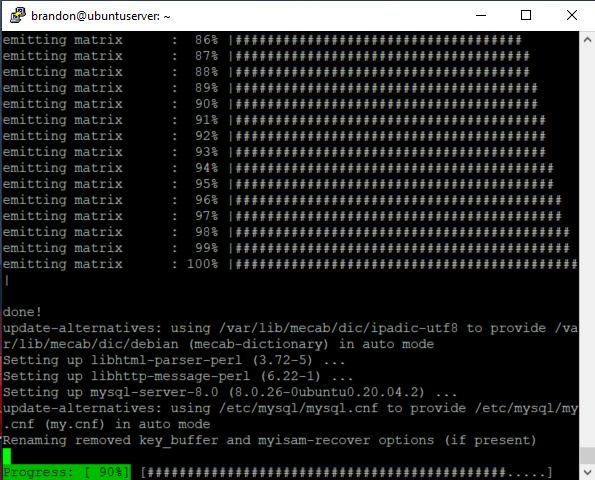
Now the MySQL packages are installing.
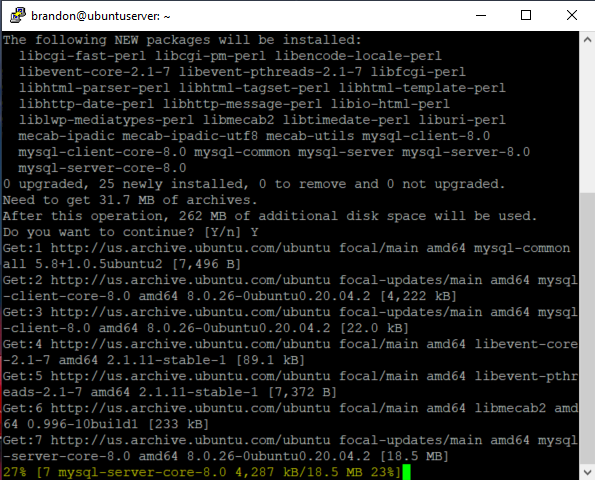
Depending on your connection, the installation takes a minute or two. You will see the progress bar down at the bottom.
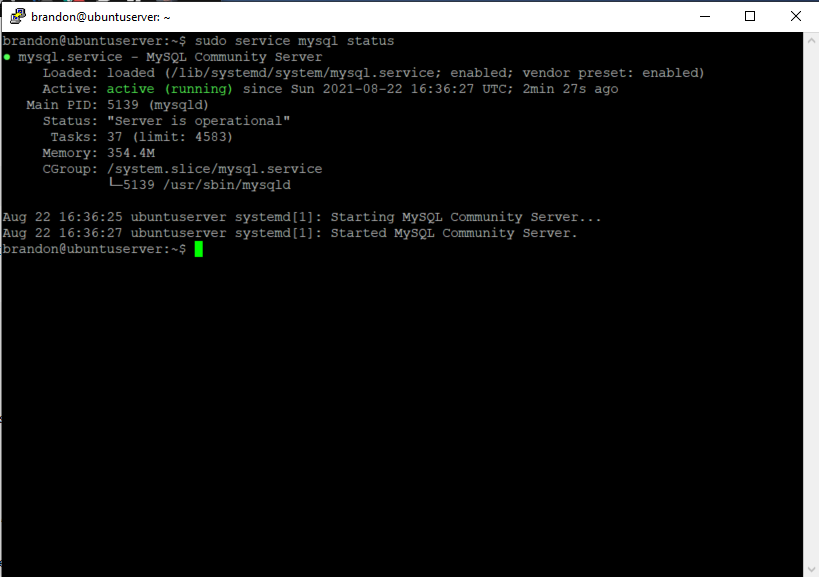
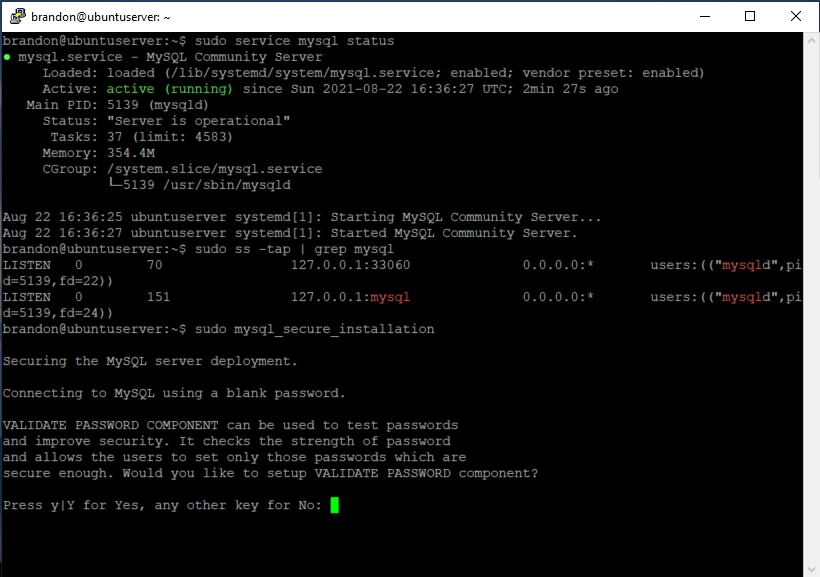
Once you receive your terminal prompt again, type in the following command to check the status of the service via systemd:
sudo service mysql status
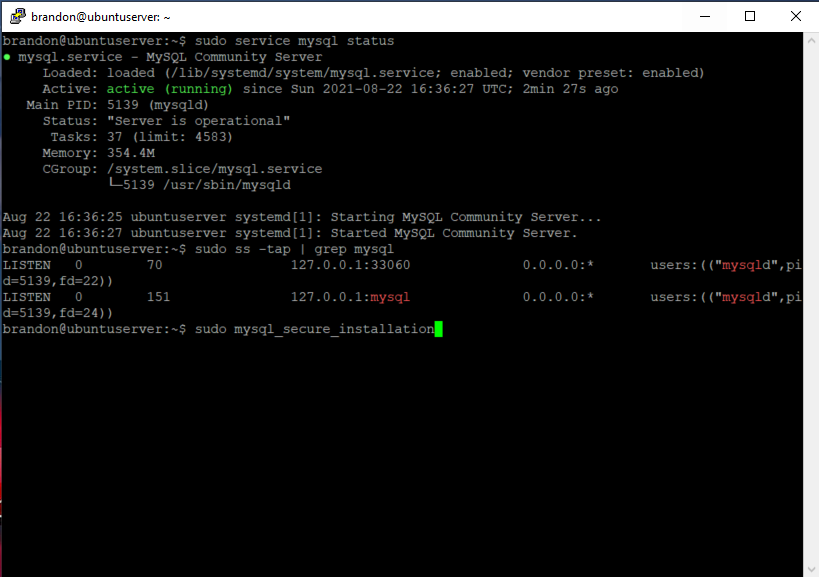
Then you can check the network status of the MySQL service by sunning the ss command:
sudo ss -tap | grep mysql

Once I confirmed that the MySQL service is running correctly, I will run the mysql_secure_installation command. This MySQL Installation-related program is a guided setup to improve the security of your MySQL installation. As stated in the MySQL documentation, this program enables you to improve the security of your MySQL installation in the following ways:
You can set a password for root accounts.
You can remove root accounts that are accessible from outside the local host.
You can remove anonymous-user accounts.
You can remove the test database (which by default can be accessed by all users, even anonymous users), and privileges that permit anyone to access databases with names that start with test_.
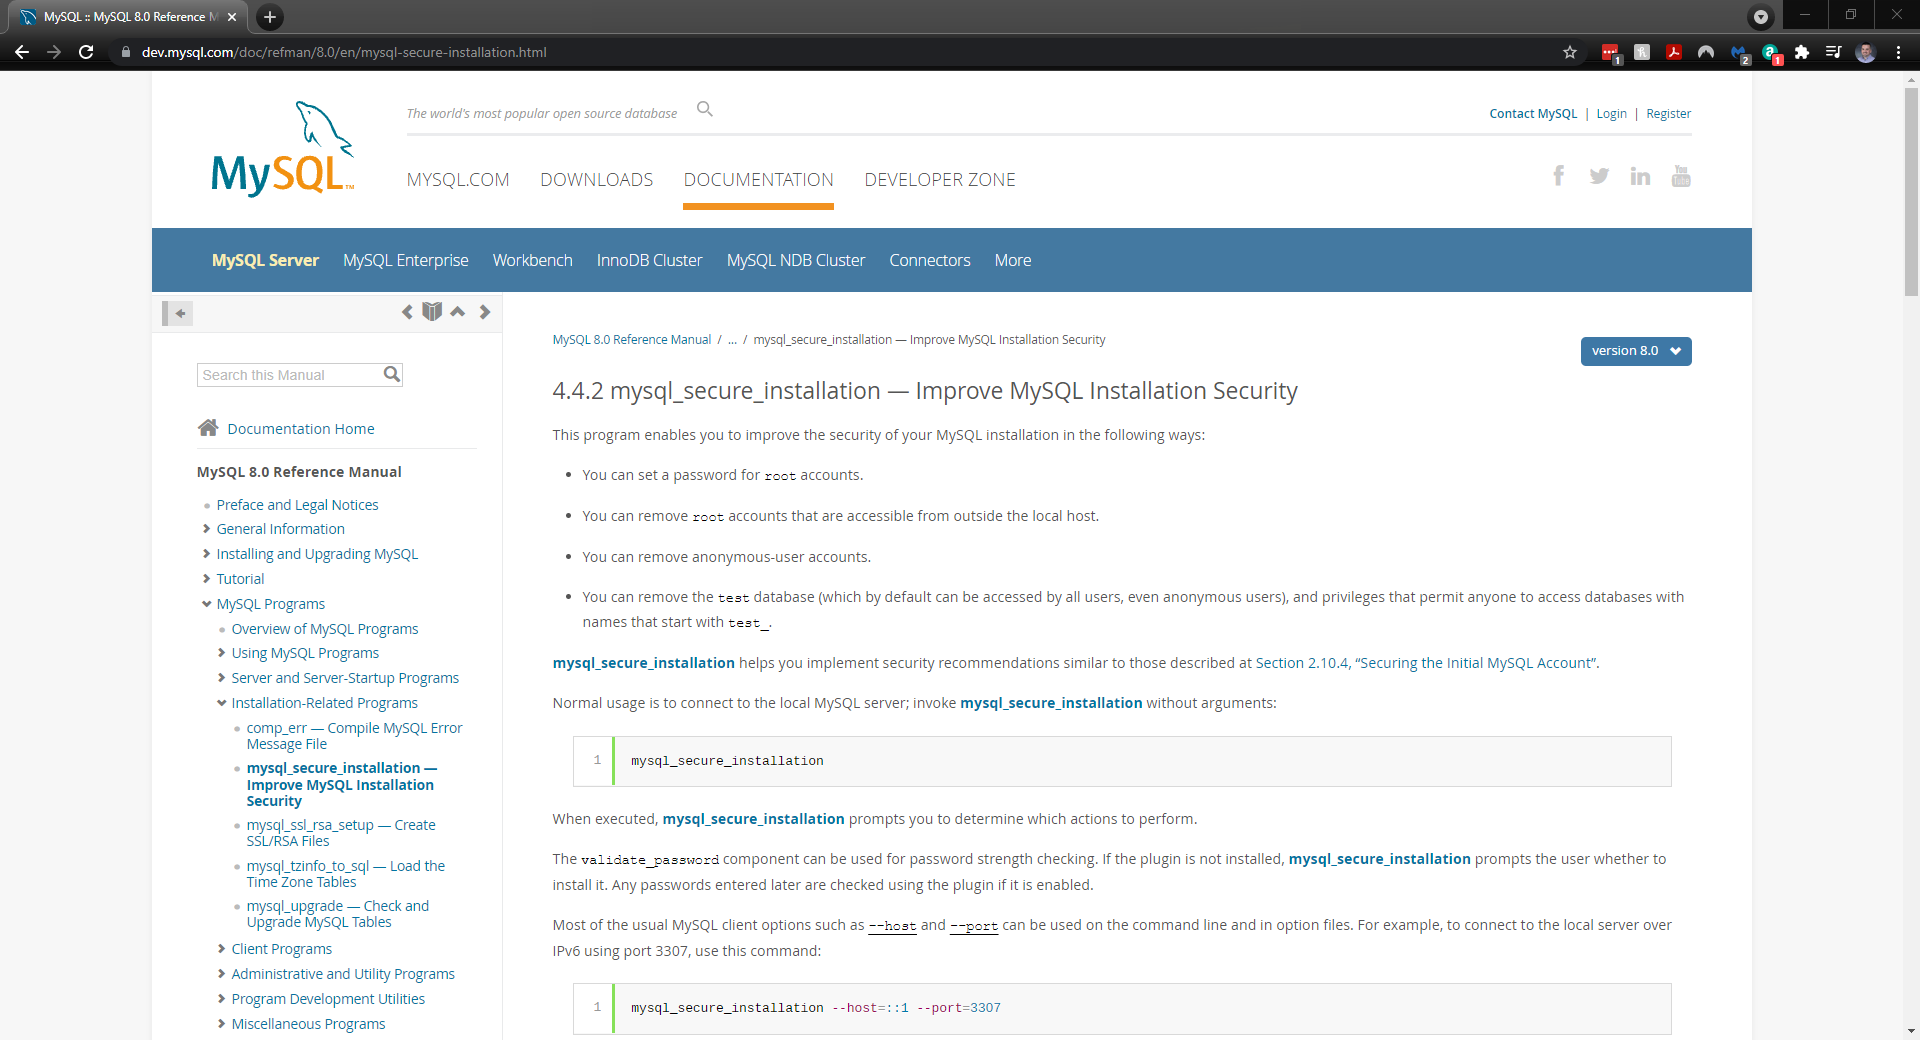
When executed, mysql_secure_installation prompts you to determine which actions to perform.
Let us see it in action....
The command is sudo mysql_secure_installation
First question I get is...
Would you like to setup VALIDATE PASSWORD component?
In the paragraph above the question, it states that the VALIDATE PASSWORD component checks for the strength of a password. As a Systems Administrator with security in mind, this seems like a good feature. Let me press Y for yes.
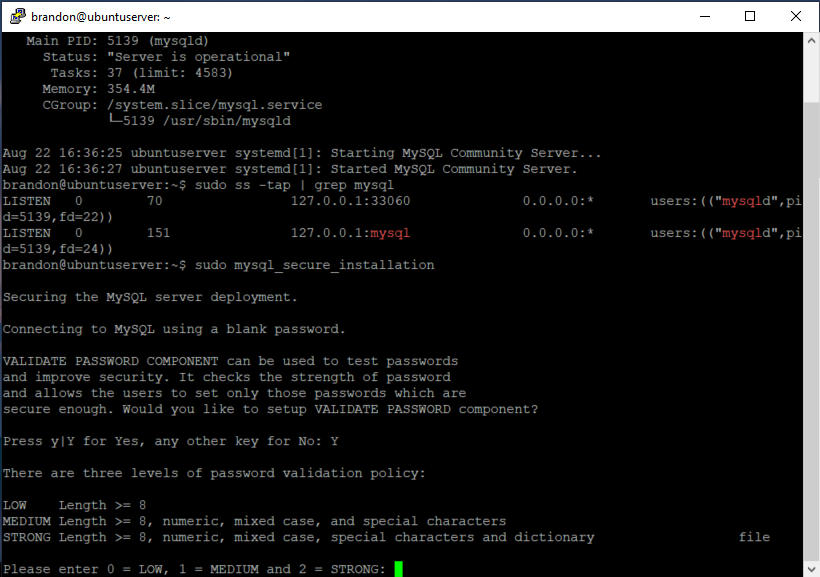
The next question I receive is to select which level of password validation policy I would like to implement. My choices are as follows:
LOW: At least 8 characters in length.
MEDIUM: At least 8 characters in length, numeric, mixed case, and special characters
STRONG: At least 8 characters in length, numeric, mixed case, and special characters, and no dictionary words.
That's going to be STRONG for me. I want at least 8 characters, mixed case, numbers, special characters, and no dictionary words.
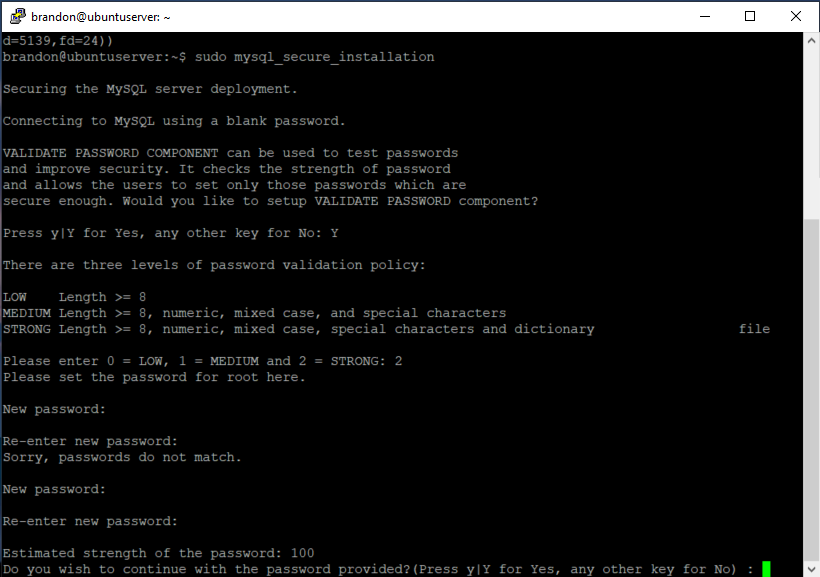
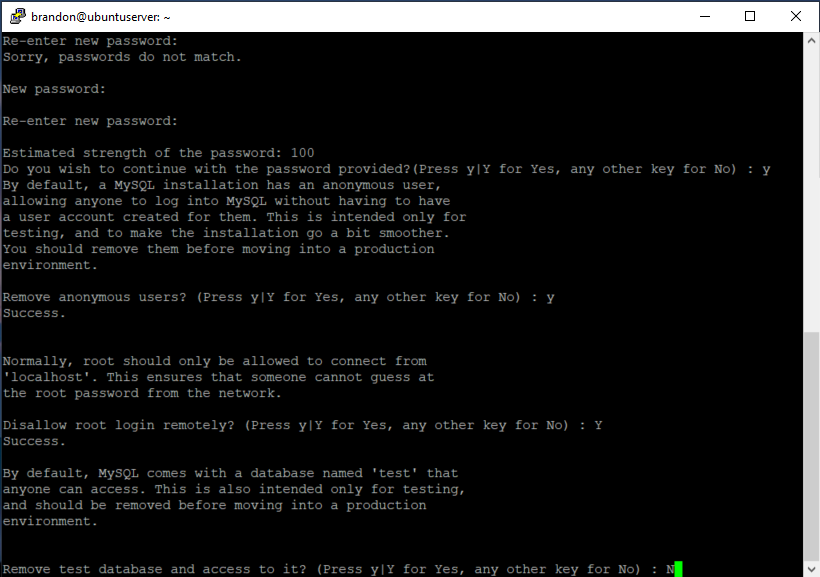
Now time to set up a password for the root account. As you can see in the image below, my password had an estimated score of 100. Since I am happy with my password, I will then select Y to continue.
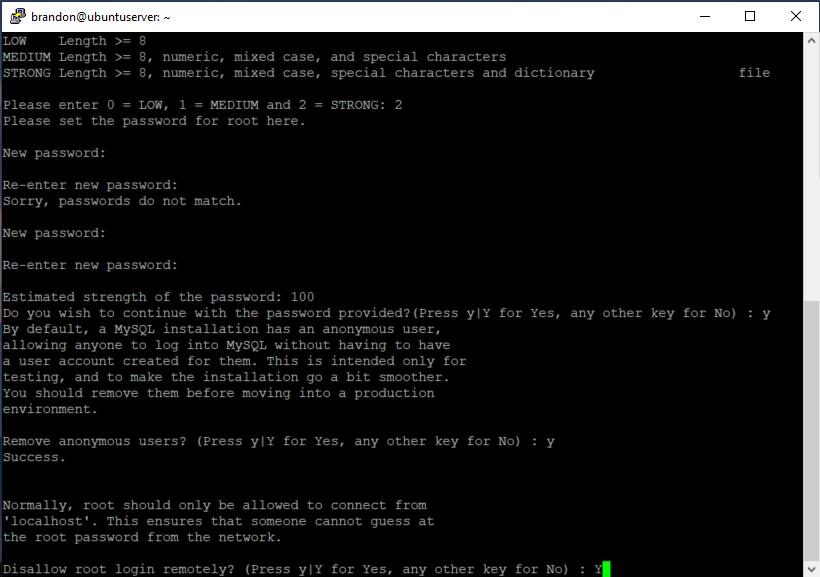
Now I am asked if I want to remove Anonymous Users. If this was a test database with no data of any value, I wouldn't care about this. But since this is database will be used in production, let's go ahead and remove Anonymous Users.

I am now asked if I should only allow the root user to connect from the 'localhost'. This means that the root user can only log in to the MySQL service from the local virtual machine. If a user connects to the virtual machine via SSH and then to the root account on MySQL service, that will still be allowed. I am going to select Y for this.
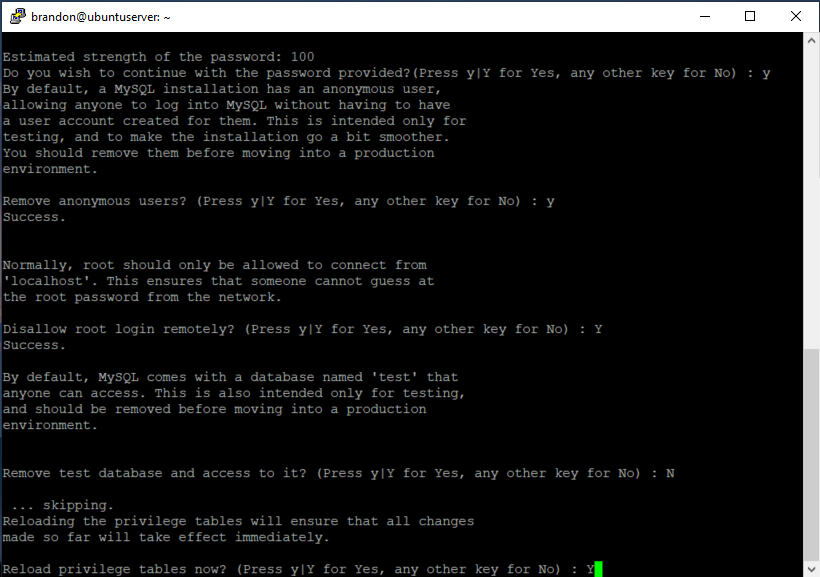
Then I am asked if I want to remove the test database. I will leave it for now and select N.
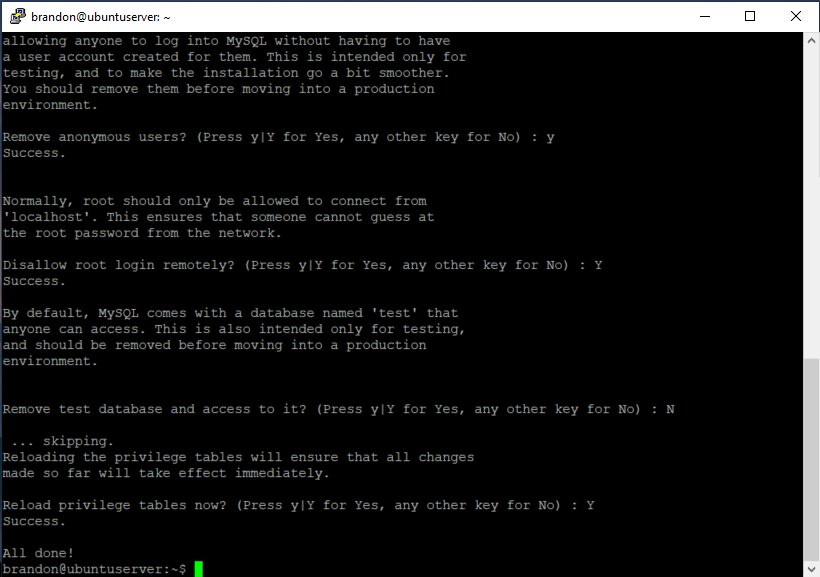
The next question asks me to Reload the privilege tables. This will ensure that all changes made so far will go into effect.
Looks like I am all done with the mysql_secure_installation program!
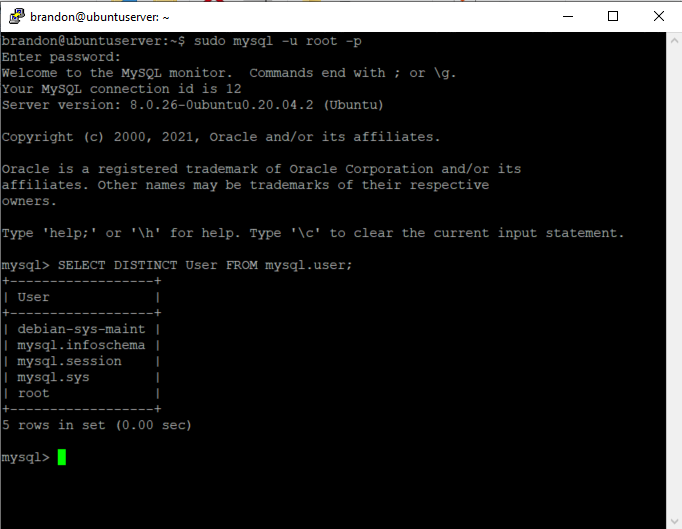
Now time to log in to the MySQL service and see what users are listed. The command I will use is sudo mysql -u root -p. I will then be prompted to enter my password.
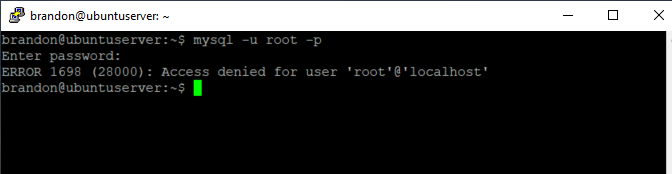
Let me try that again! Then follow it up with this SQL command to get the list of users:
SELECT DISTINCT User from mysql.user;
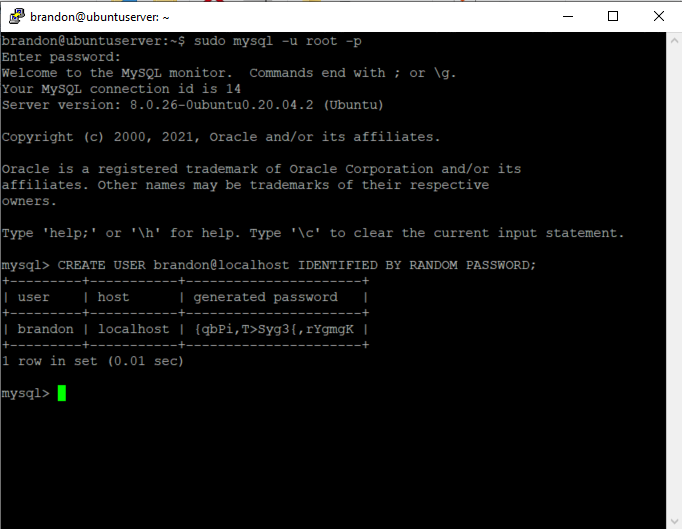
I will not create my user account and request a randomly generated password. This will be the user account that I give to my developer, assuming his name is also Brandon (Which would be strange!):
CREATE USER brandon@localhost IDENTIFIED BY RANDOM PASSWORD;
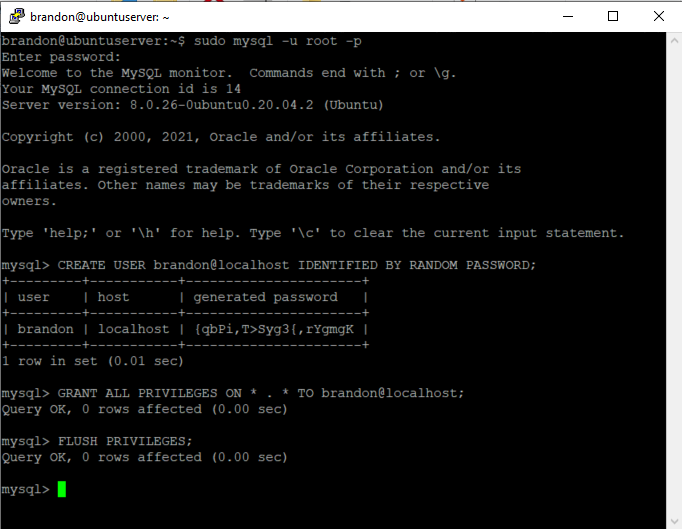
Then I will grant my user account all privileges, which will make it an Administrator account. I will then need to flush the privileges so they go into effect:
GRANT ALL PRIVILEGES ON *.* TO brandon@localhost;
Followed by:
FLUSH PRIVILEGES;
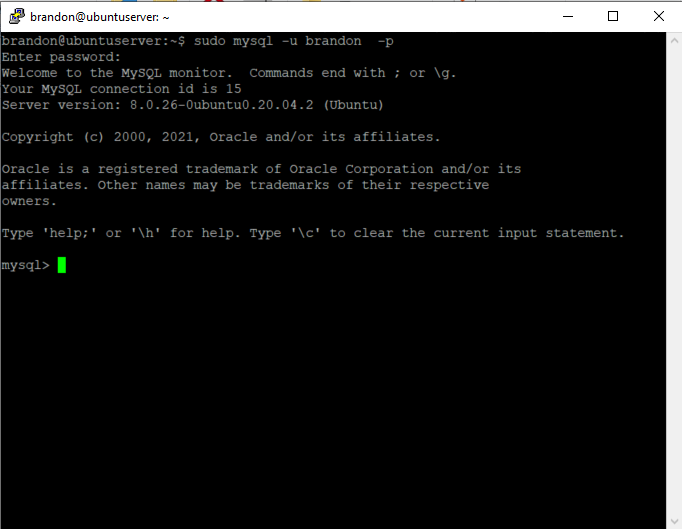
Now I will try to log in to that user account I just created.
sudo myspl -u brandon -p
From there I can list the tables:
```SHOW DATABASES;"
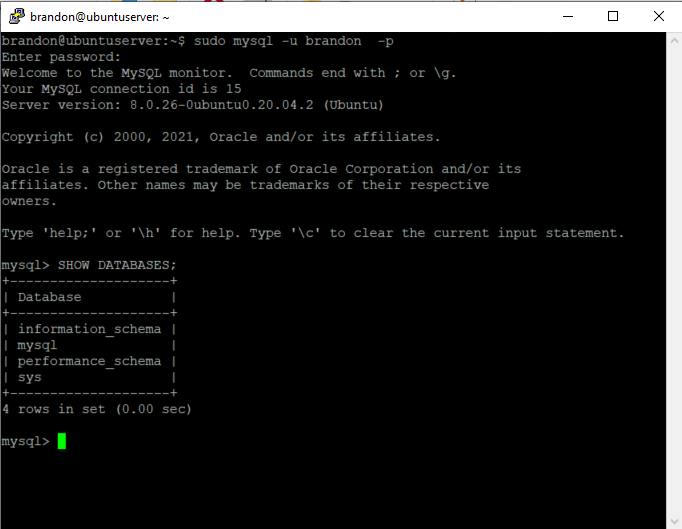
Looks like our MySQL service is ready for use. I will then share the user credentials with my web developer for his use.
Thank you for taking to time to go through this tutorial with me! Please feel free to leave any comments below.


