

Deploying an OpenStack Cloud Environment
A look into other cloud computing platforms other than VMware.

My name is Brandon, and I currently work as an Information Technology Consultant in the Atlanta metropolitan area.
I am not a developer, but I enjoy learning about cloud and data center technologies. I also technically own "Brandon's Cloud, LLC" as my own consulting company.
When you think of on-premise Software-Defined Data Center (SDDC) solutions, the first option that really comes to mind is VMware vSphere. vSphere is an encompassing term that includes several other VMware technologies to provide an infrastructure for virtualization. I personally enjoy working with a VMware vSphere environment. However, there are other competing platforms out in today's marketplace. Today we're going to look at OpenStack.
What is OpenStack?
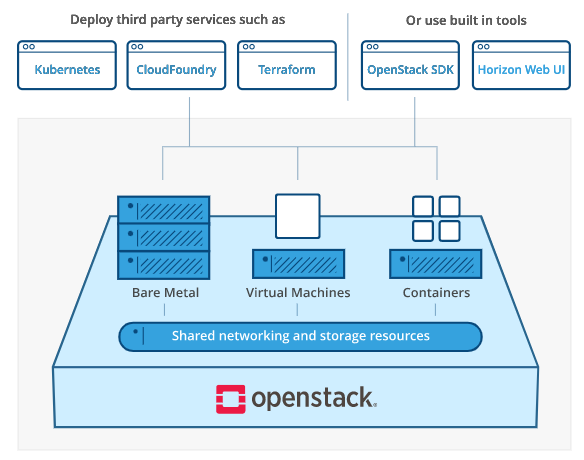
OpenStack is an open-source cloud computing platform that can be used to manage distributed computing, network, and storage resources. You can use OpenStack to build private and public clouds. Resources can be managed through a dashboard, giving administrators control while empowering users to provision resources through a web interface.
OpenStack is also fully open-source meaning there are no licensing costs. It is available under the Apache License which means that it can be used free of charge. Even if deployed within one of the available distributions, vendors must not add any additional licensing costs (ref OpenStack vs VMware: Bringing costs down). However, OpenStack is also not just a simple technology that you install and use. It has a certain degree of complexity and takes time to fully understand and maximize utilization. Organizations, like Canonical and Red Hat, provide professional services and support to help manage your OpenStack environment.
How to use OpenStack?
Today I will be demonstrating how to deploy and configure an OpenStack cloud. However, I will be utilizing MicroStack. MicroStack is a micro cloud platform based on OpenStack, designed for the edge and small-scale data center deployments, that can be installed and maintained with minimal effort. Canonical provides easy-to-understand tutorials to learn more about OpenStack. (For this demonstration, I used these installation instructions versus the one in the tutorials. But they are the same instructions.
Create the VM
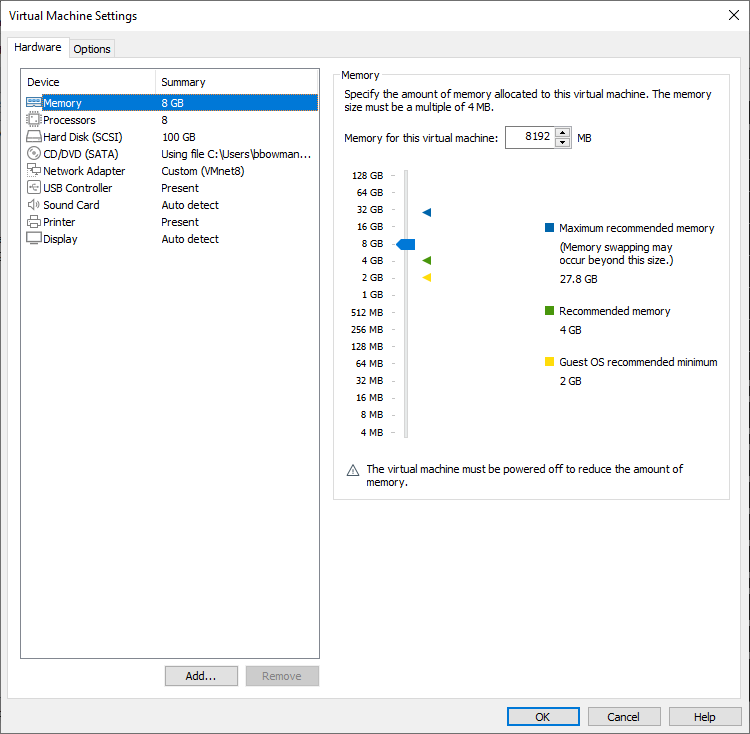
The first requirements are to have a physical machine to work on. The tutorial's requirements are as follows:
The latest Ubuntu LTS installed.
Multi-core CPU
8 GB of RAM
100 GB of storage
In fact, I'm just going to create a virtual machine in VMware Workstation Pro. Something like this should be perfect for this demonstration:
MicroStack Deployment
If you follow along in the tutorial, the commands are pretty simple.
First, execute the following command to install the MicroStack snap:
sudo snap install microstack --devmode --beta
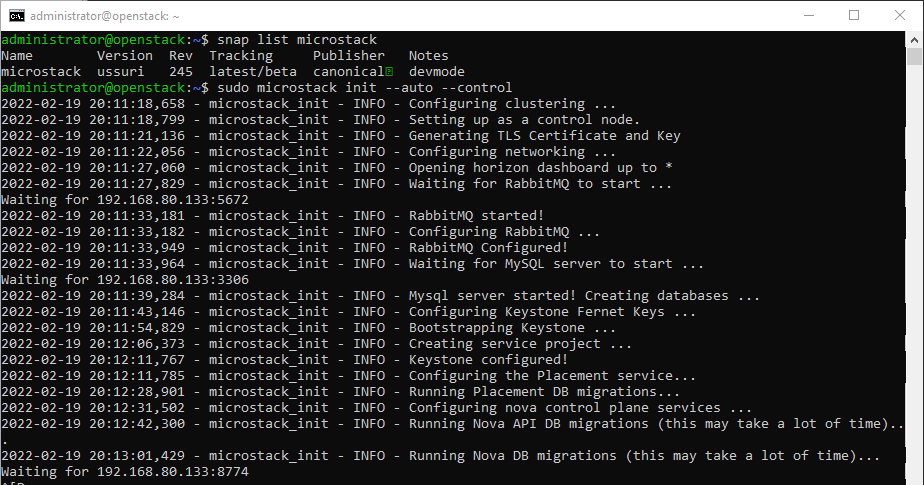
When the installation process has finished, I will view information on the installed snap by entering the command: :
snap list microstack
Looking good so far!

Initialization
I will then initialize MicroStack. According to the documentation, this will "automatically deploy, configures, and starts OpenStack services. In particular, it will create the database, networks, an image, several flavors, and ICMP/SSH security groups." The command I will use is:
sudo microstack init --auto --control
Apparently, this can take quite a bit of time depending on your system.
Verification
Once the initialization is finished, you can run a few commands to check functionality. The standard OpenStack client comes pre-installed and is invoked like so:
microstack.openstack <command>
To list the default image, run:
microstack.openstack image list
To get the default list of flavors:
microstack.openstack flavor list
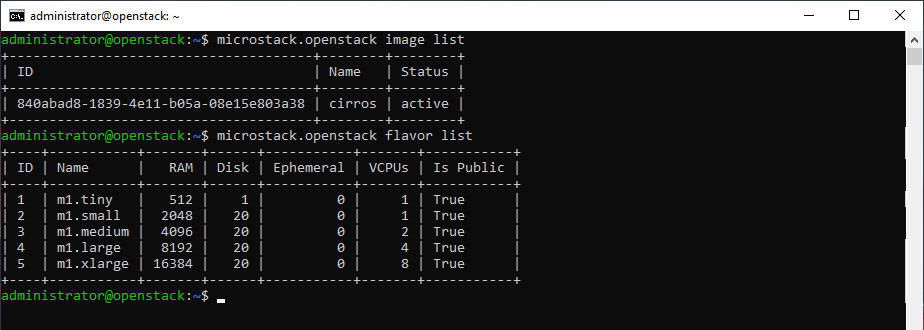
Now we are getting somewhere!
Create an Instance
I will now create an instance (virtual machine) named 'test' based on the 'cirros' image. CirrOS is a minimal Linux distribution that was designed for use as a test image on clouds such as OpenStack Compute. You can download a CirrOS image in various formats from the CirrOS download page I will use the command:
microstack launch cirros -name test

Now I will connect to the instance via ssh using the generated ssh keys that were shown in the output. (I just copied the command from the resulting output from creating the instance.)
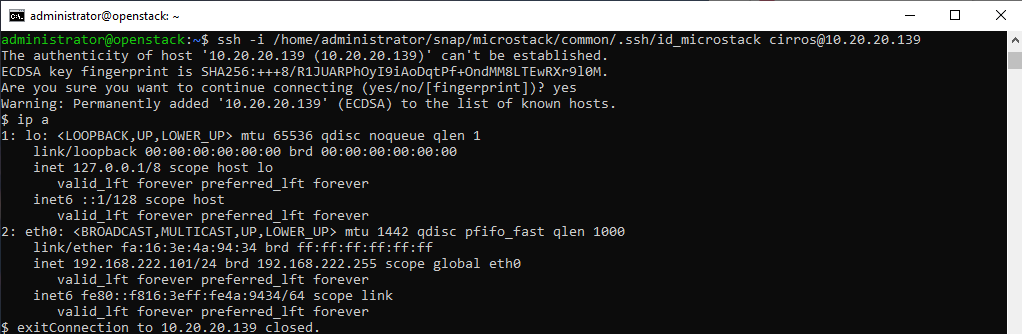
I then typed in ip a to get a quick status of the networking.
Access the Cloud Dashboard
Now for the fun stuff!
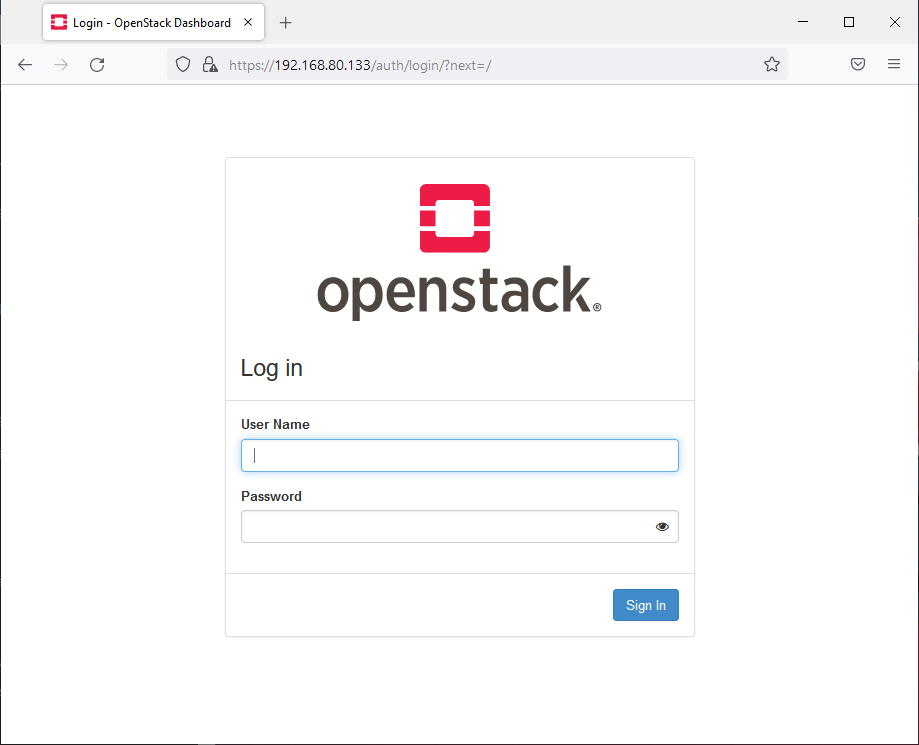
To access the OpenStack (MicroStack) Cloud Dashboard, I need to open a browser with the IP address of the virtual machine running MicroStack. So let me browse over to the IP address.
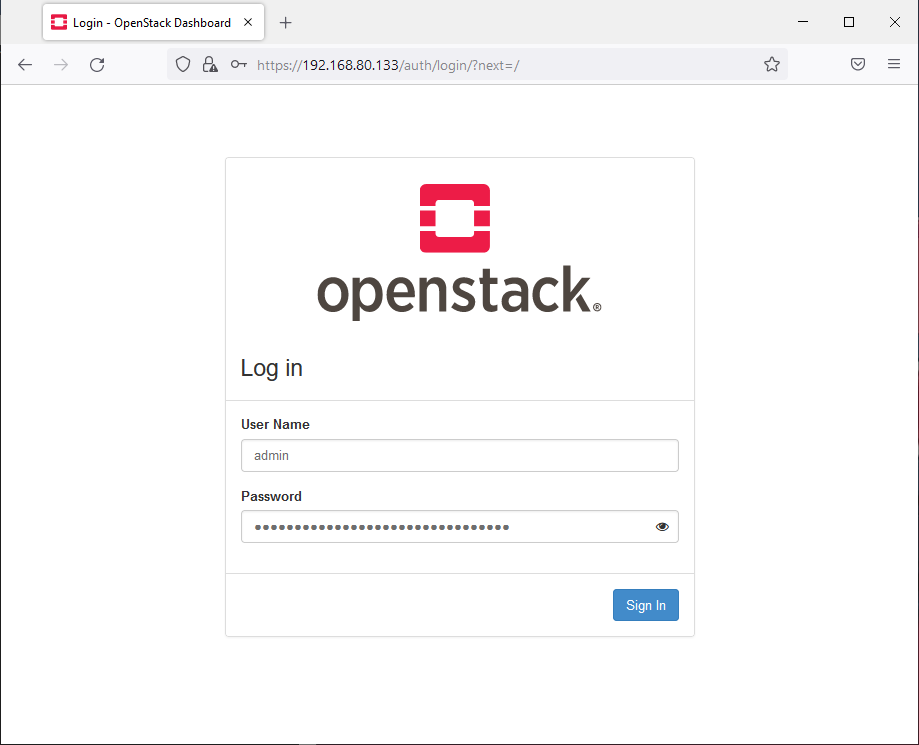
Now I need a username and password. The tutorial states that the username is admin, but I also need to generate a password from the terminal console. The password is obtained by entering the command:
sudo snap get microstack config.credentials.keystone-password

Now I need to enter the username admin and generated password into the console.
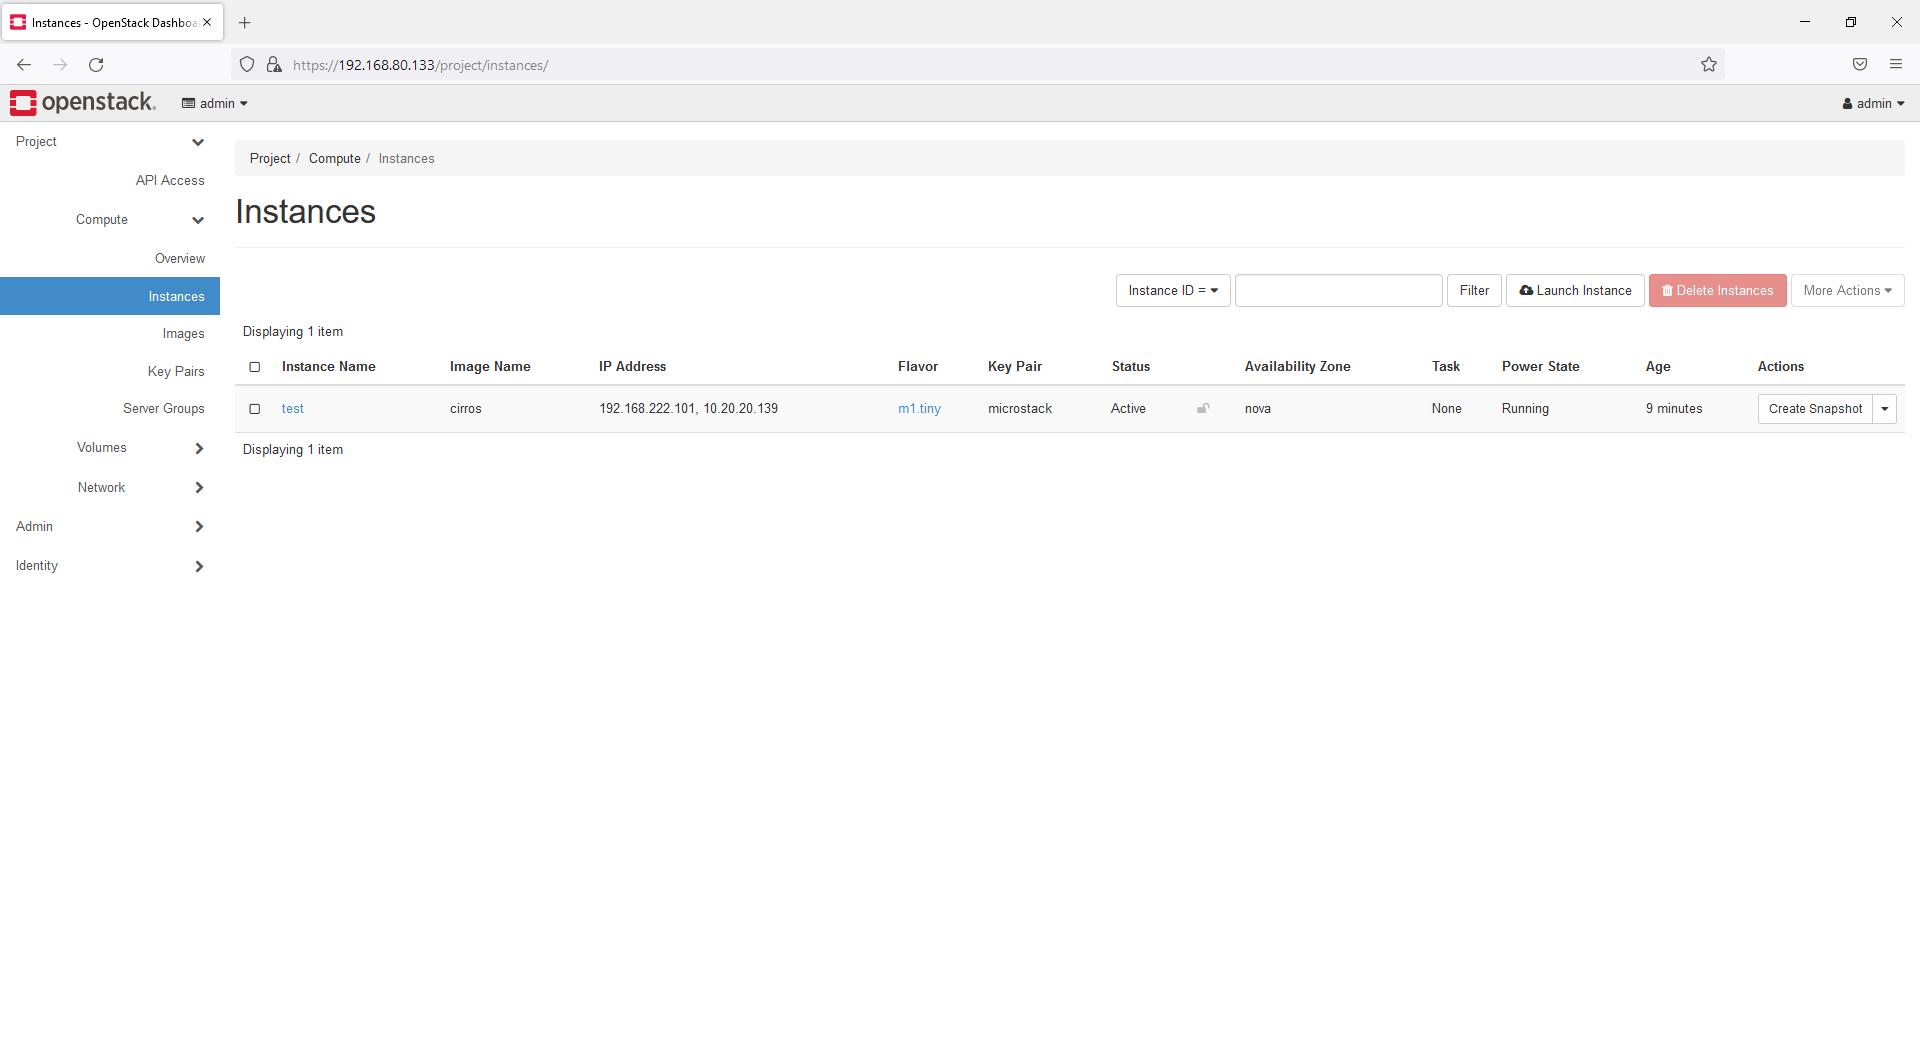
And I can now look at my entire OpenStack environment on a Cloud Dashboard.
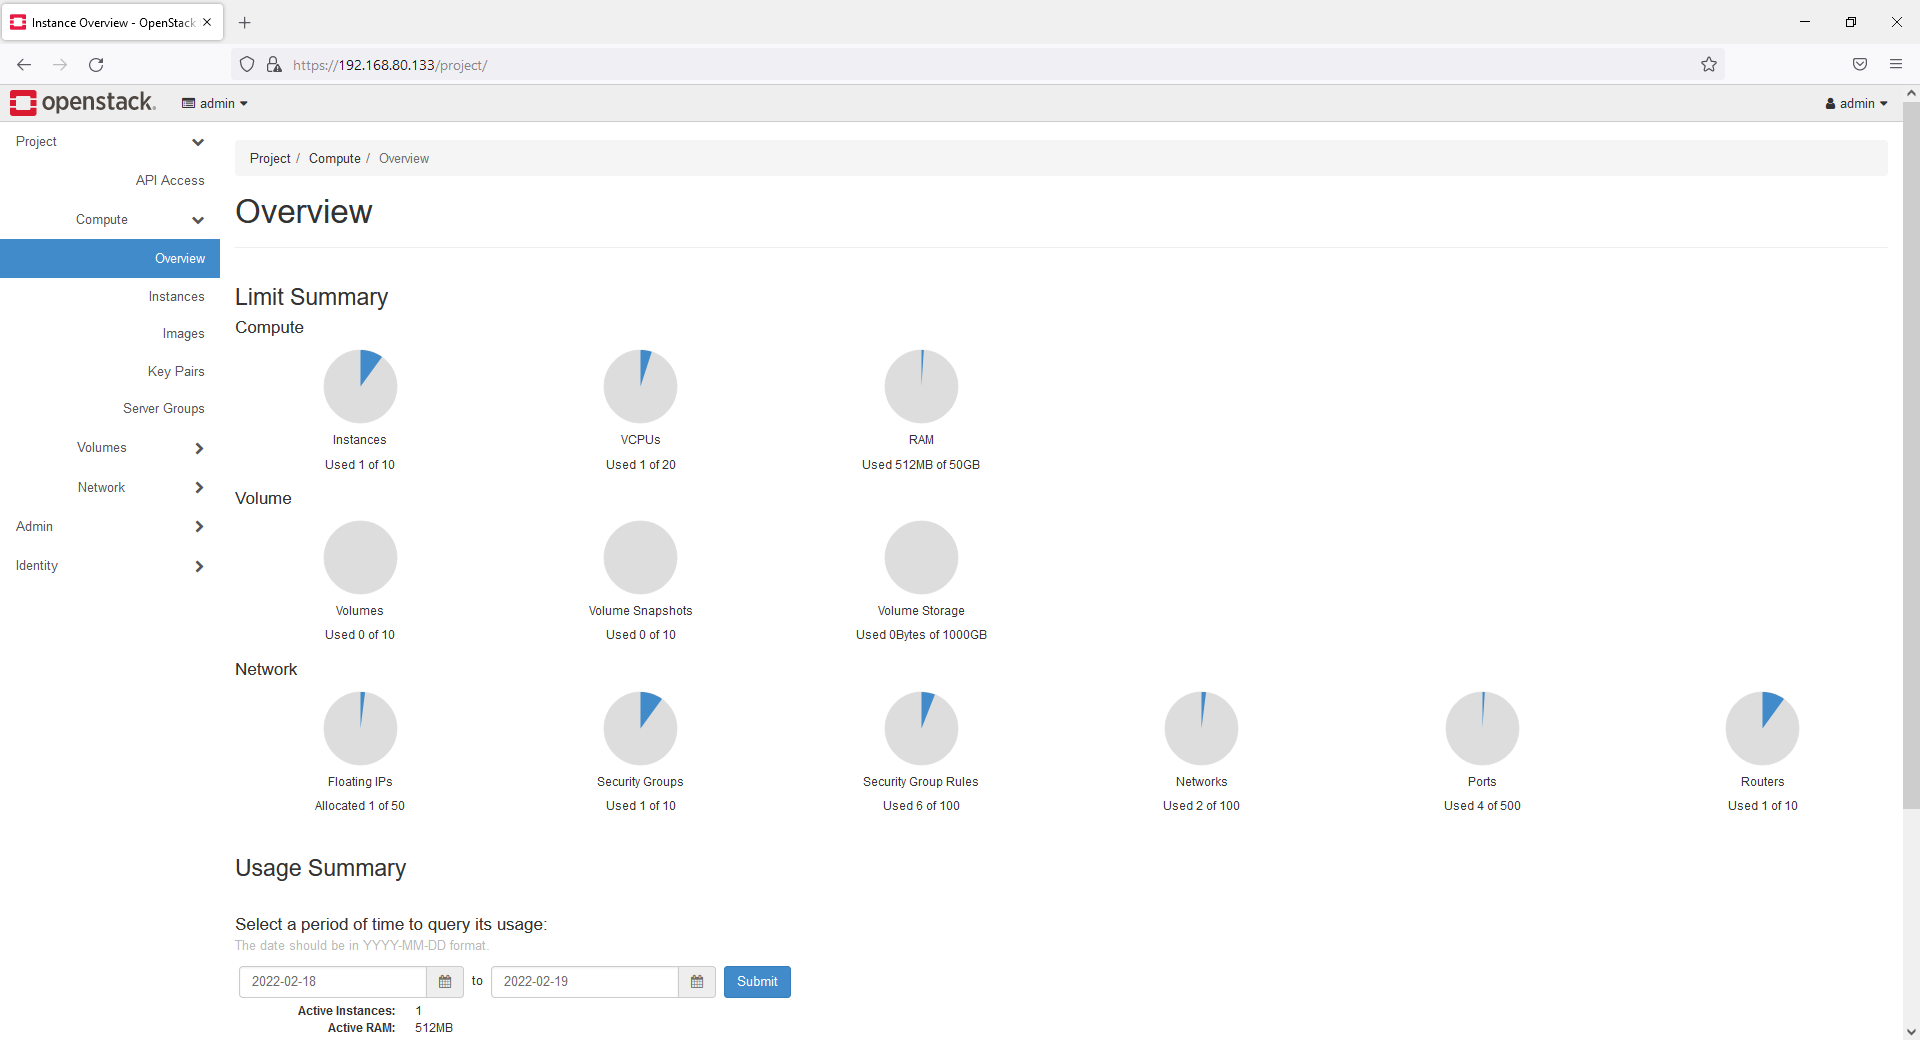
If I select Instances I should be able to see the test instance that we created in the terminal.
Where to go from here?
Now that you have your MicroStack environment deployed, you can get started with the basics of OpenStack by going through the OpenStack Tutorials by Canonical.
Create your own micro cloud environment and have some fun!
There is even an OpenStack Cheat Sheet should you need it. I'm pretty sure you will if you're new to OpenStack.
Thank you for your time during this tutorial/demonstration. Please feel free to leave any comments below!


