

Replacing a Synology Diskstation

My name is Brandon, and I currently work as an Information Technology Consultant in the Atlanta metropolitan area.
I am not a developer, but I enjoy learning about cloud and data center technologies. I also technically own "Brandon's Cloud, LLC" as my own consulting company.
Over the weekend one of our older DS419+ 4-bay Synology Diskstations, which runs our Security Camera System via Surveillance Station, decided that it didn't want to work anymore. We do know it was working last week, but there was a significant brown-out at the office on Friday. My boss and I thought all of our systems were still online because our data center is protected with a hefty UPS backup system and APC surge protectors.
I guess that wasn't enough for the DS419+. Rumor has it that those Diskstations run on an older processor and have been known to just stop working. So Saturday morning comes around, and our CFO accidentally sets off the alarm at the office. We go to check the cameras and find that it's not working. No worries though! I was going in later on to take my AZ-104 exam, so I went in a little earlier than planned and saw that the DS419+ wasn't working. I attempted to power-cycle the device, which didn't fix anything.
I notified my boss (Director of IT) and recommended that we just replace the Diskstation with a newer one. The fastest option was to purchase a DS920+ ($550) on Amazon and it would arrive on Monday. I even purchased an additional 4GB of DDR4 memory ($90) for the device. (Note to other IT Pros: Most companies have a policy that anything under $1000 is just an "Operating Expense". Over $1000 is a "Capital Expenditure". So if you can fix something under $1000, then you're doing pretty good.)
The DS920+ came in Monday right at lunchtime, so I had plenty of time to swap them out. The first thing I did was find some reference material to help me out. I'm not a big fan of reading and I found a Synology video on YouTube "How to Migrate to Another Synology NAS by Swapping Drives" Perfect!
Watched the quick 5-minute video and felt pretty confident. Let's get started!
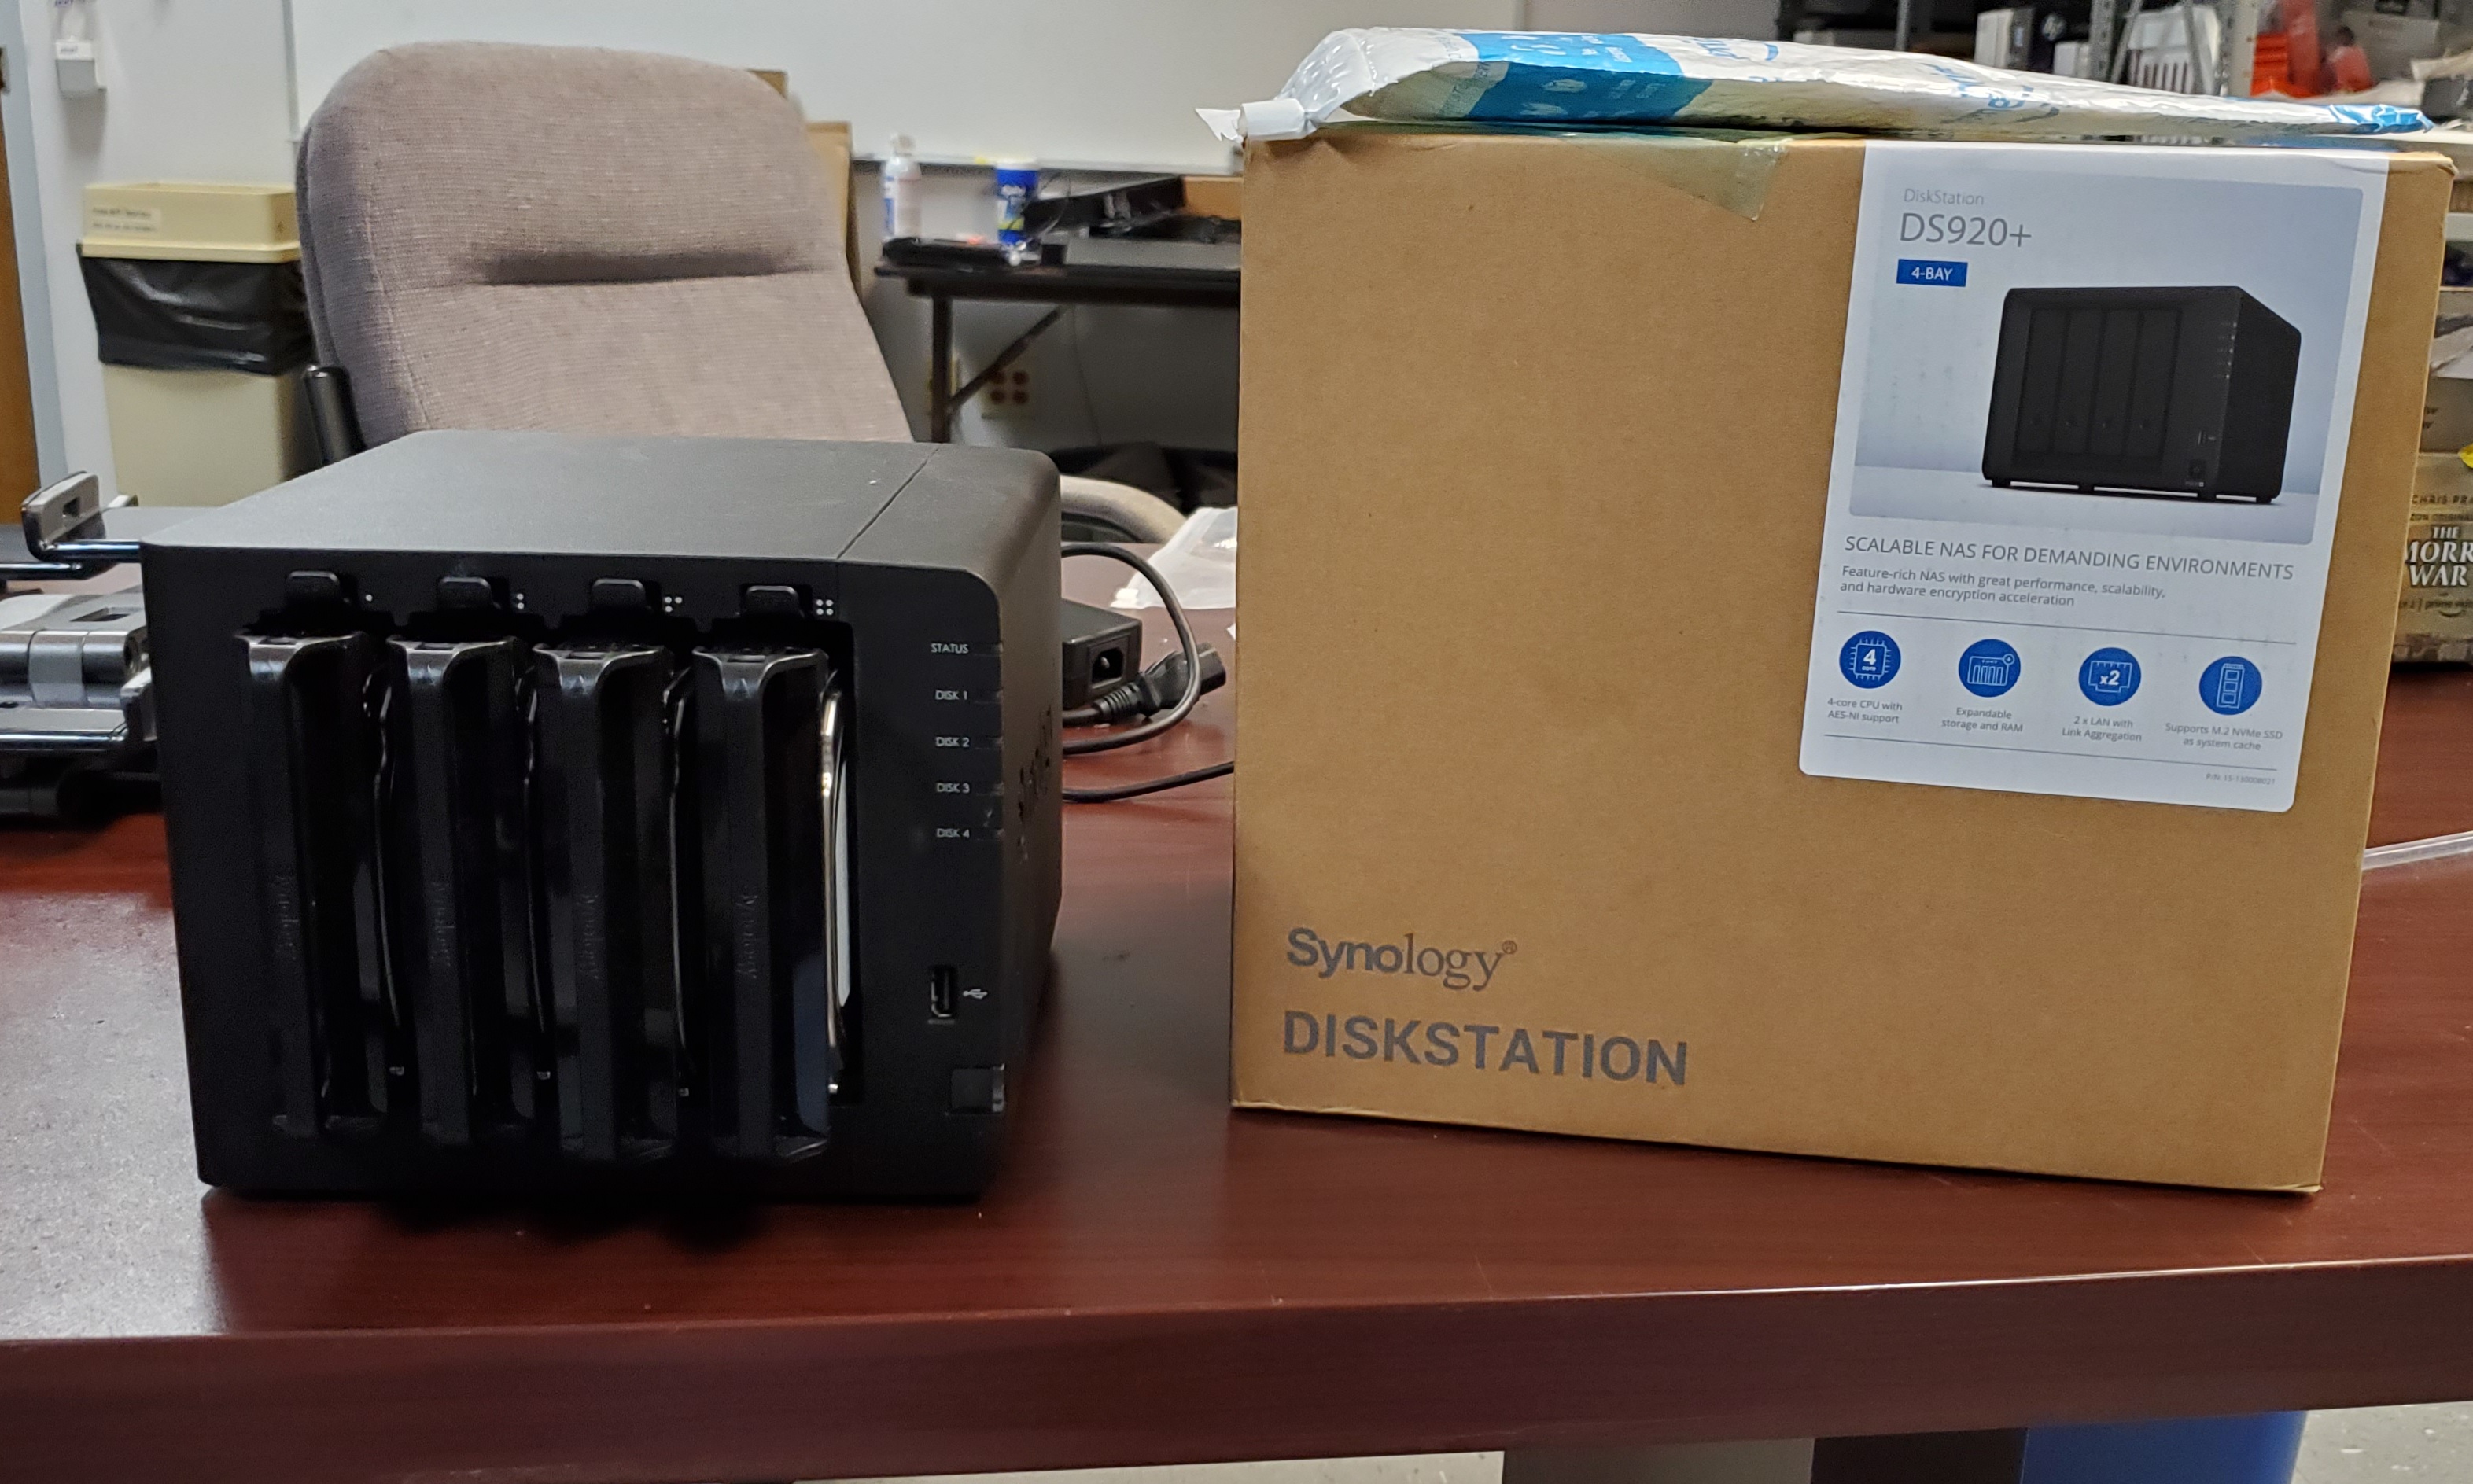
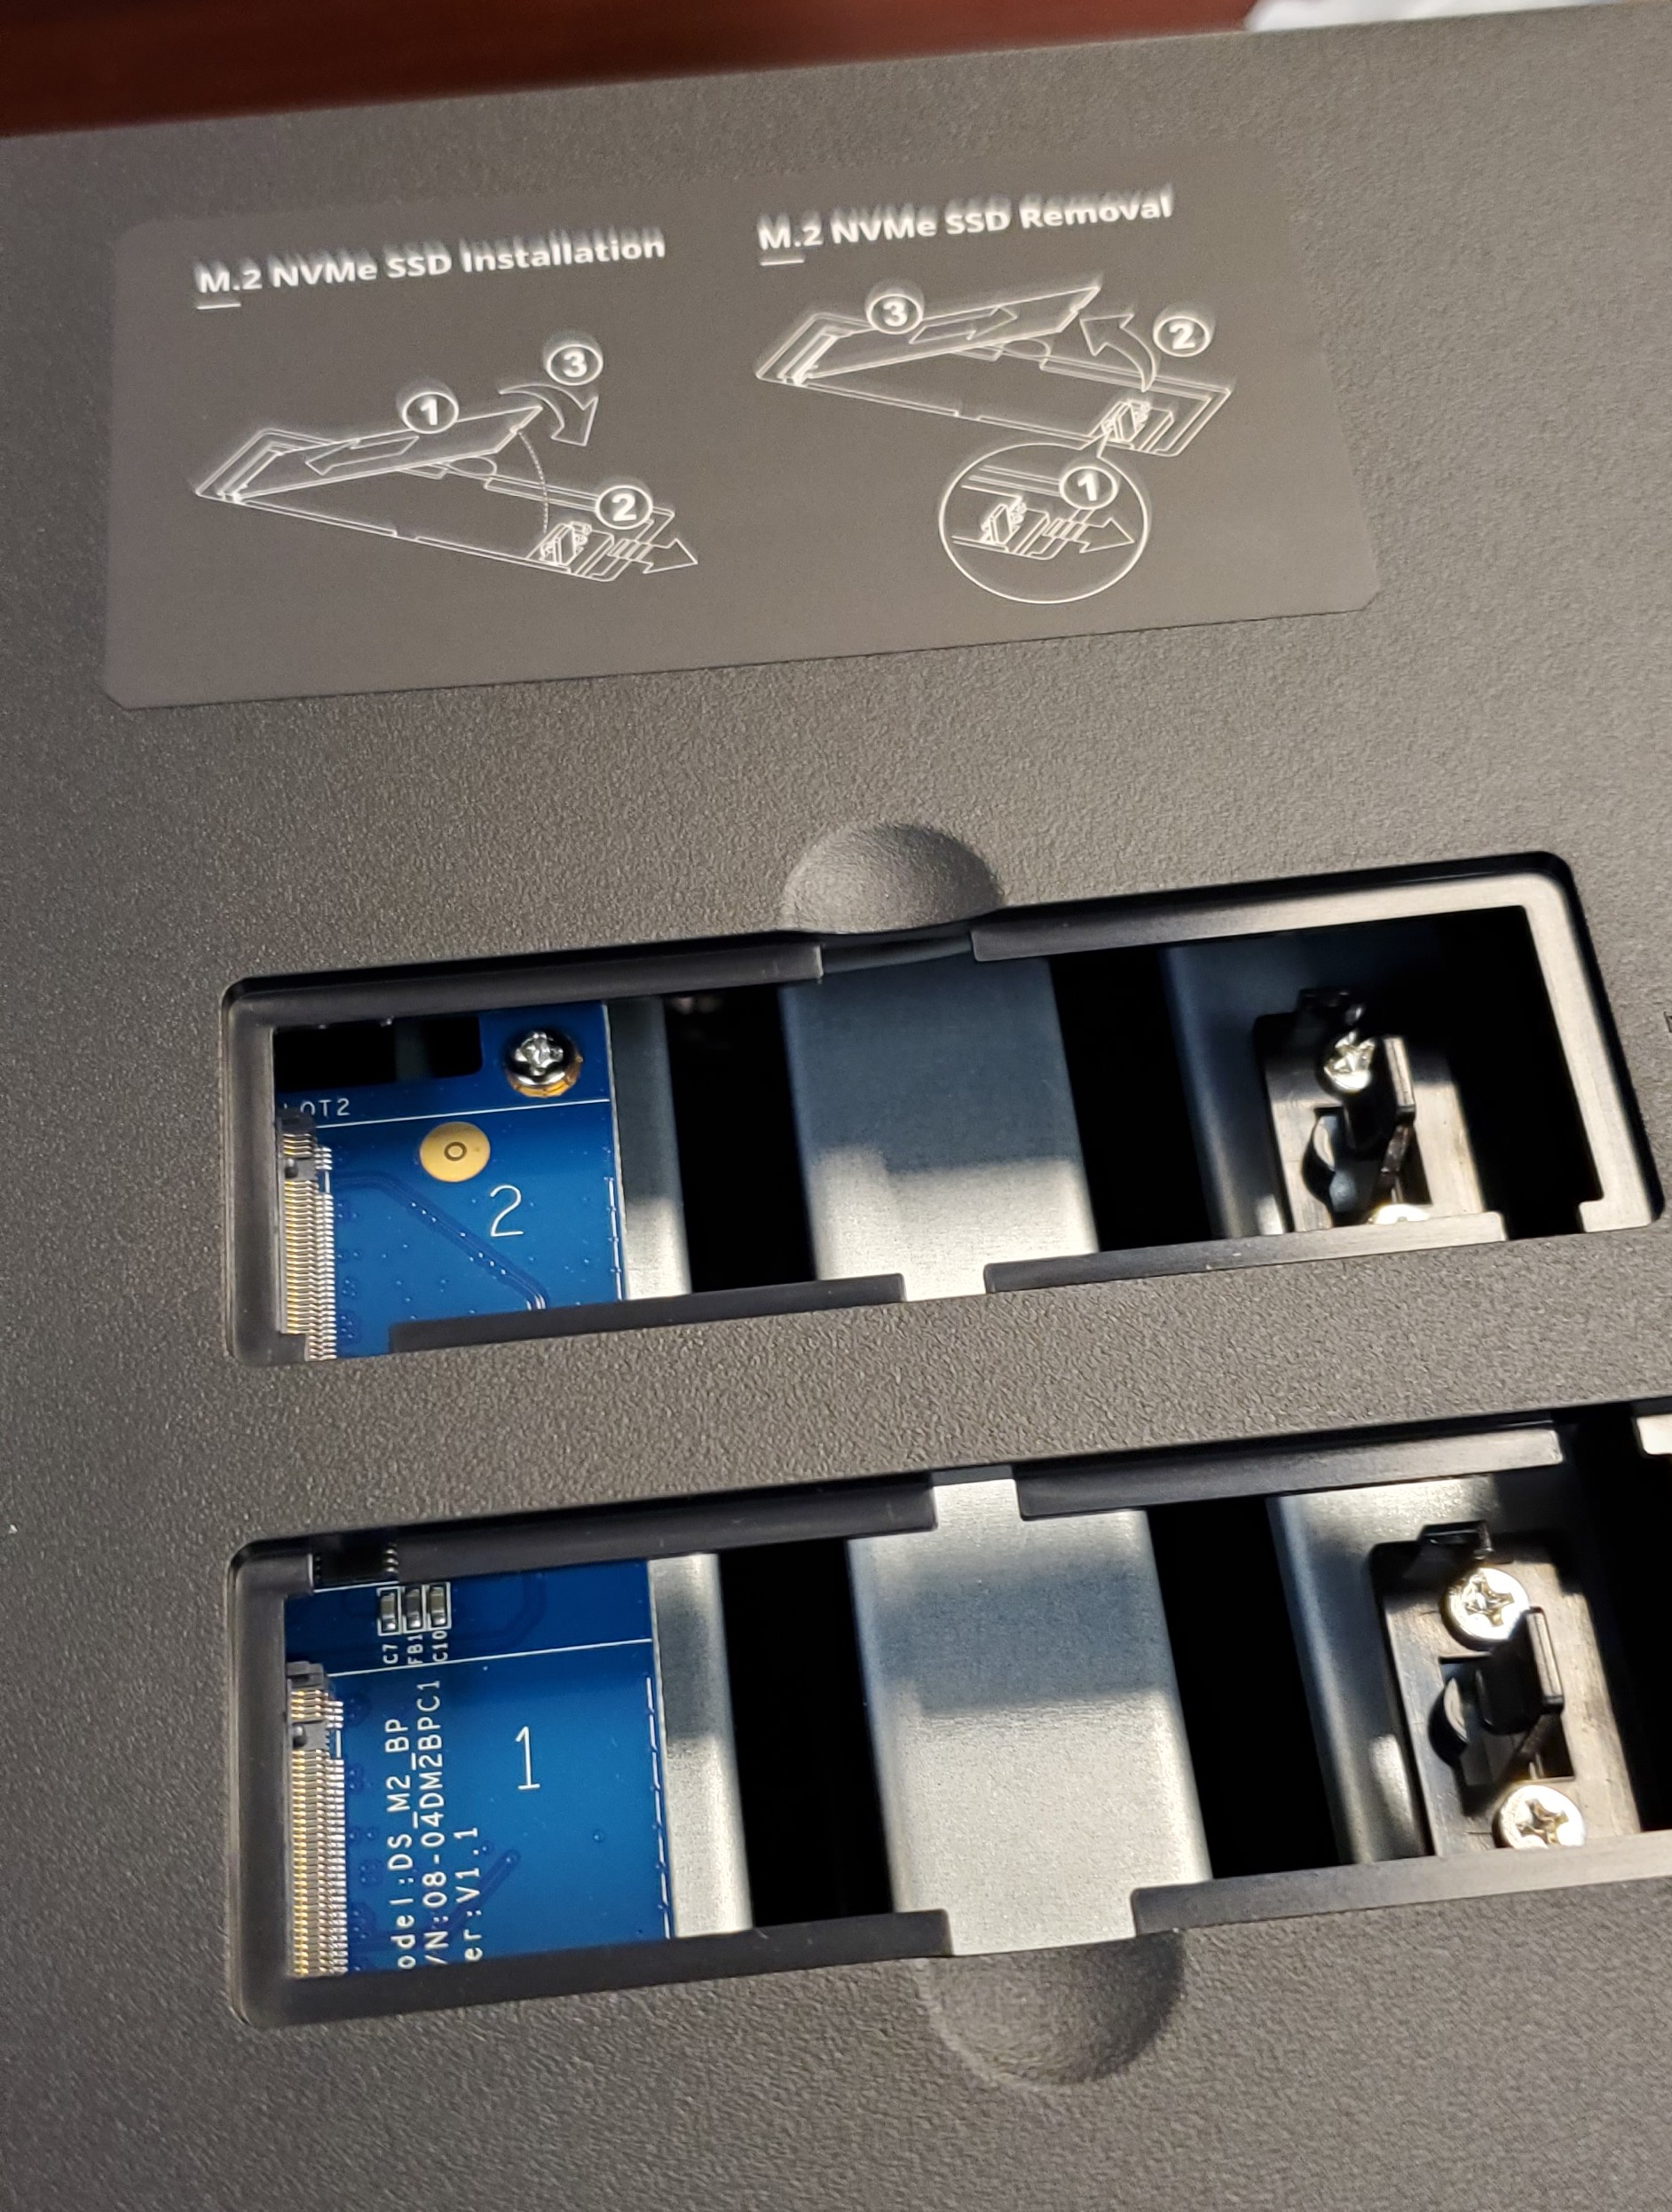
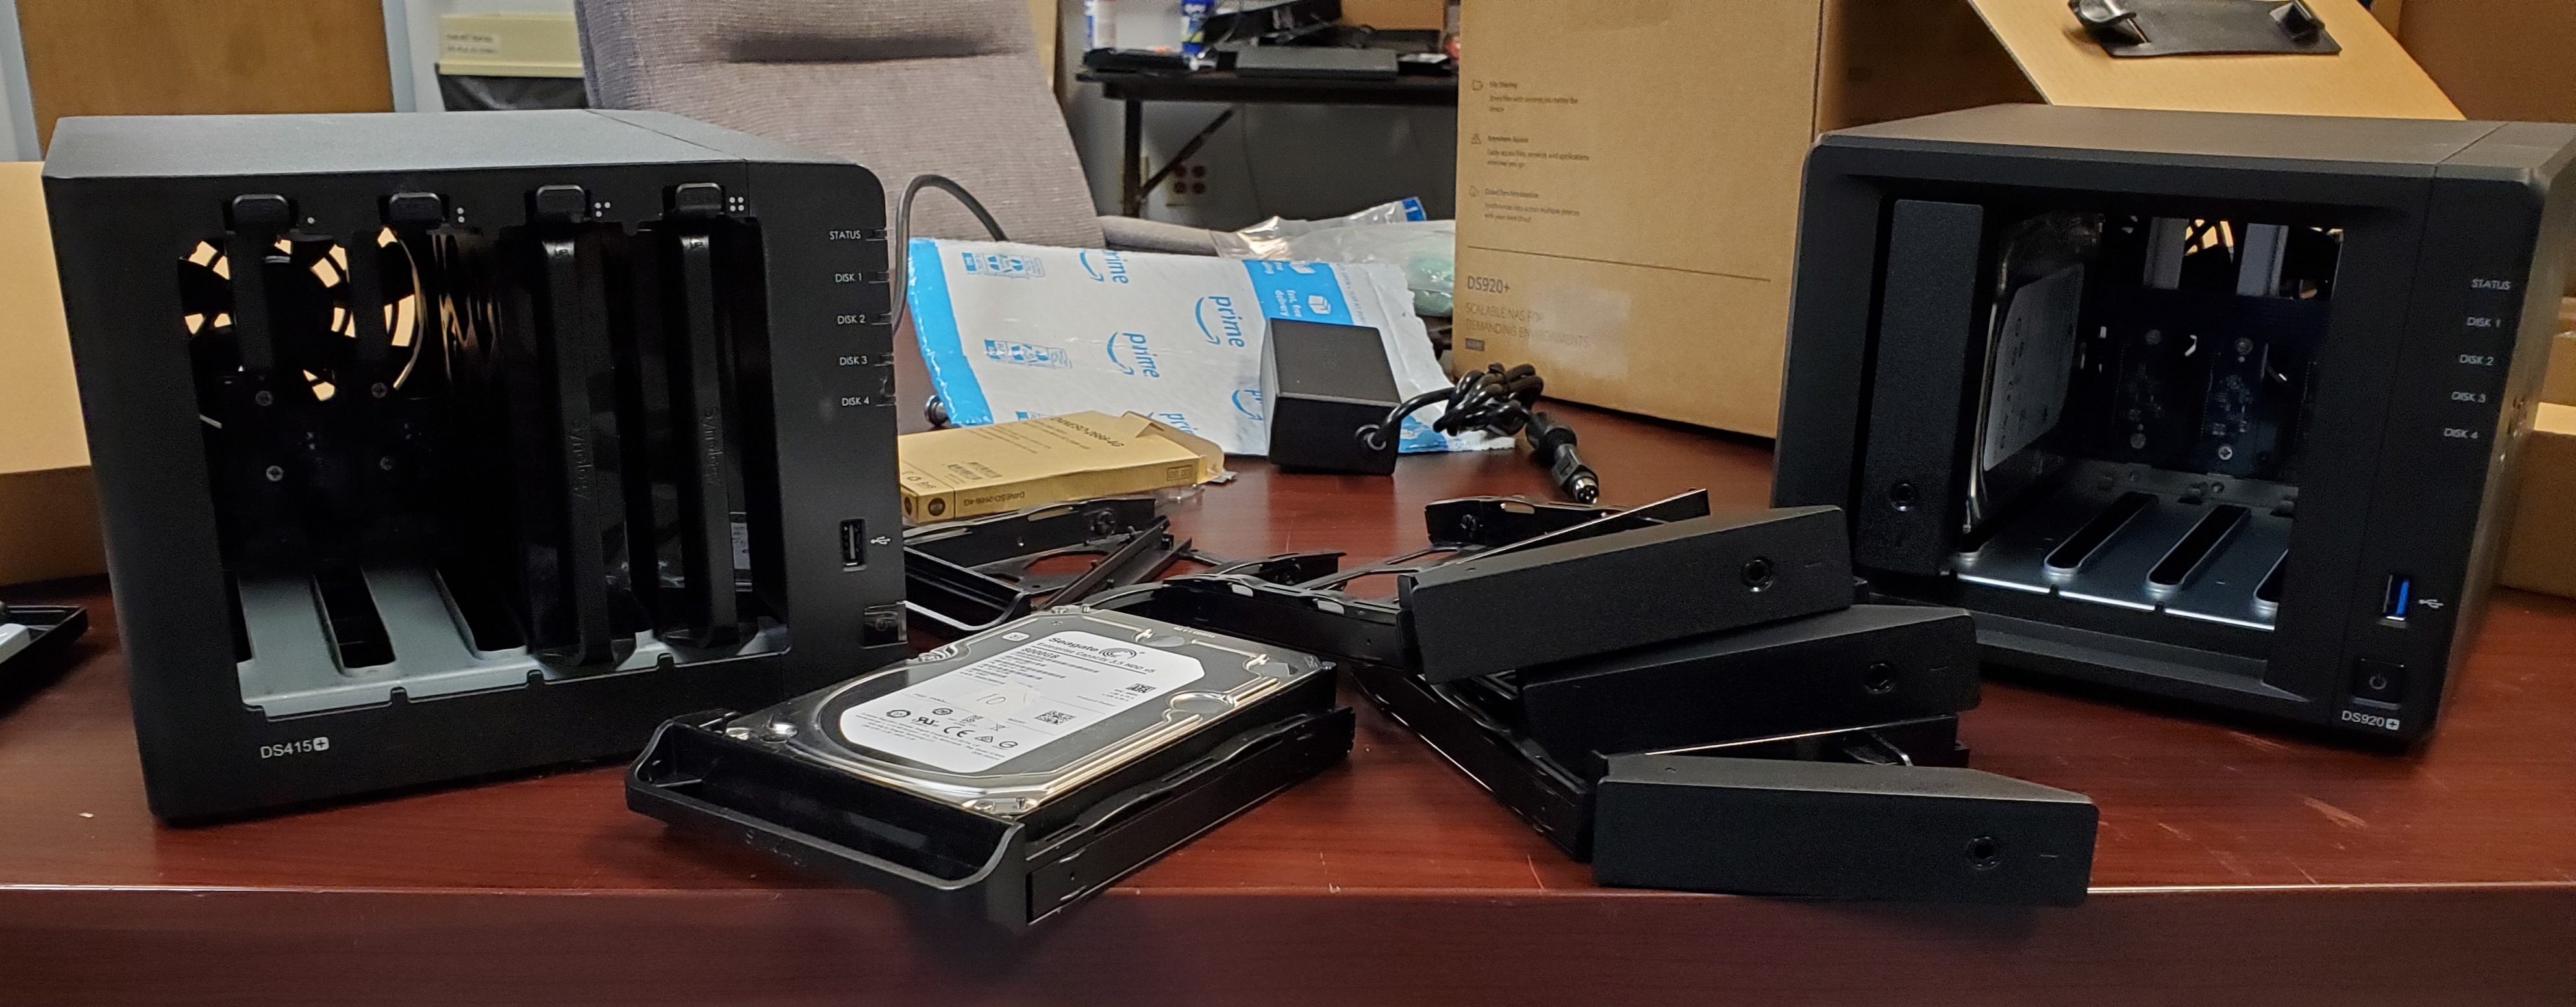
Unboxing wasn't so bad. First thing though was to add the additional memory. I didn't bust out the manual and started looking around. Found these two slots on the bottom though for M.2. drives. Looks like you can have an SSD cache. Interesting, but not really needed for our scenario.
Still hunting for the DIMM slot, I decided to pull the drive cases out. I was going to need to do that anyways. As soon as I pulled them out, I found what I was looking for.
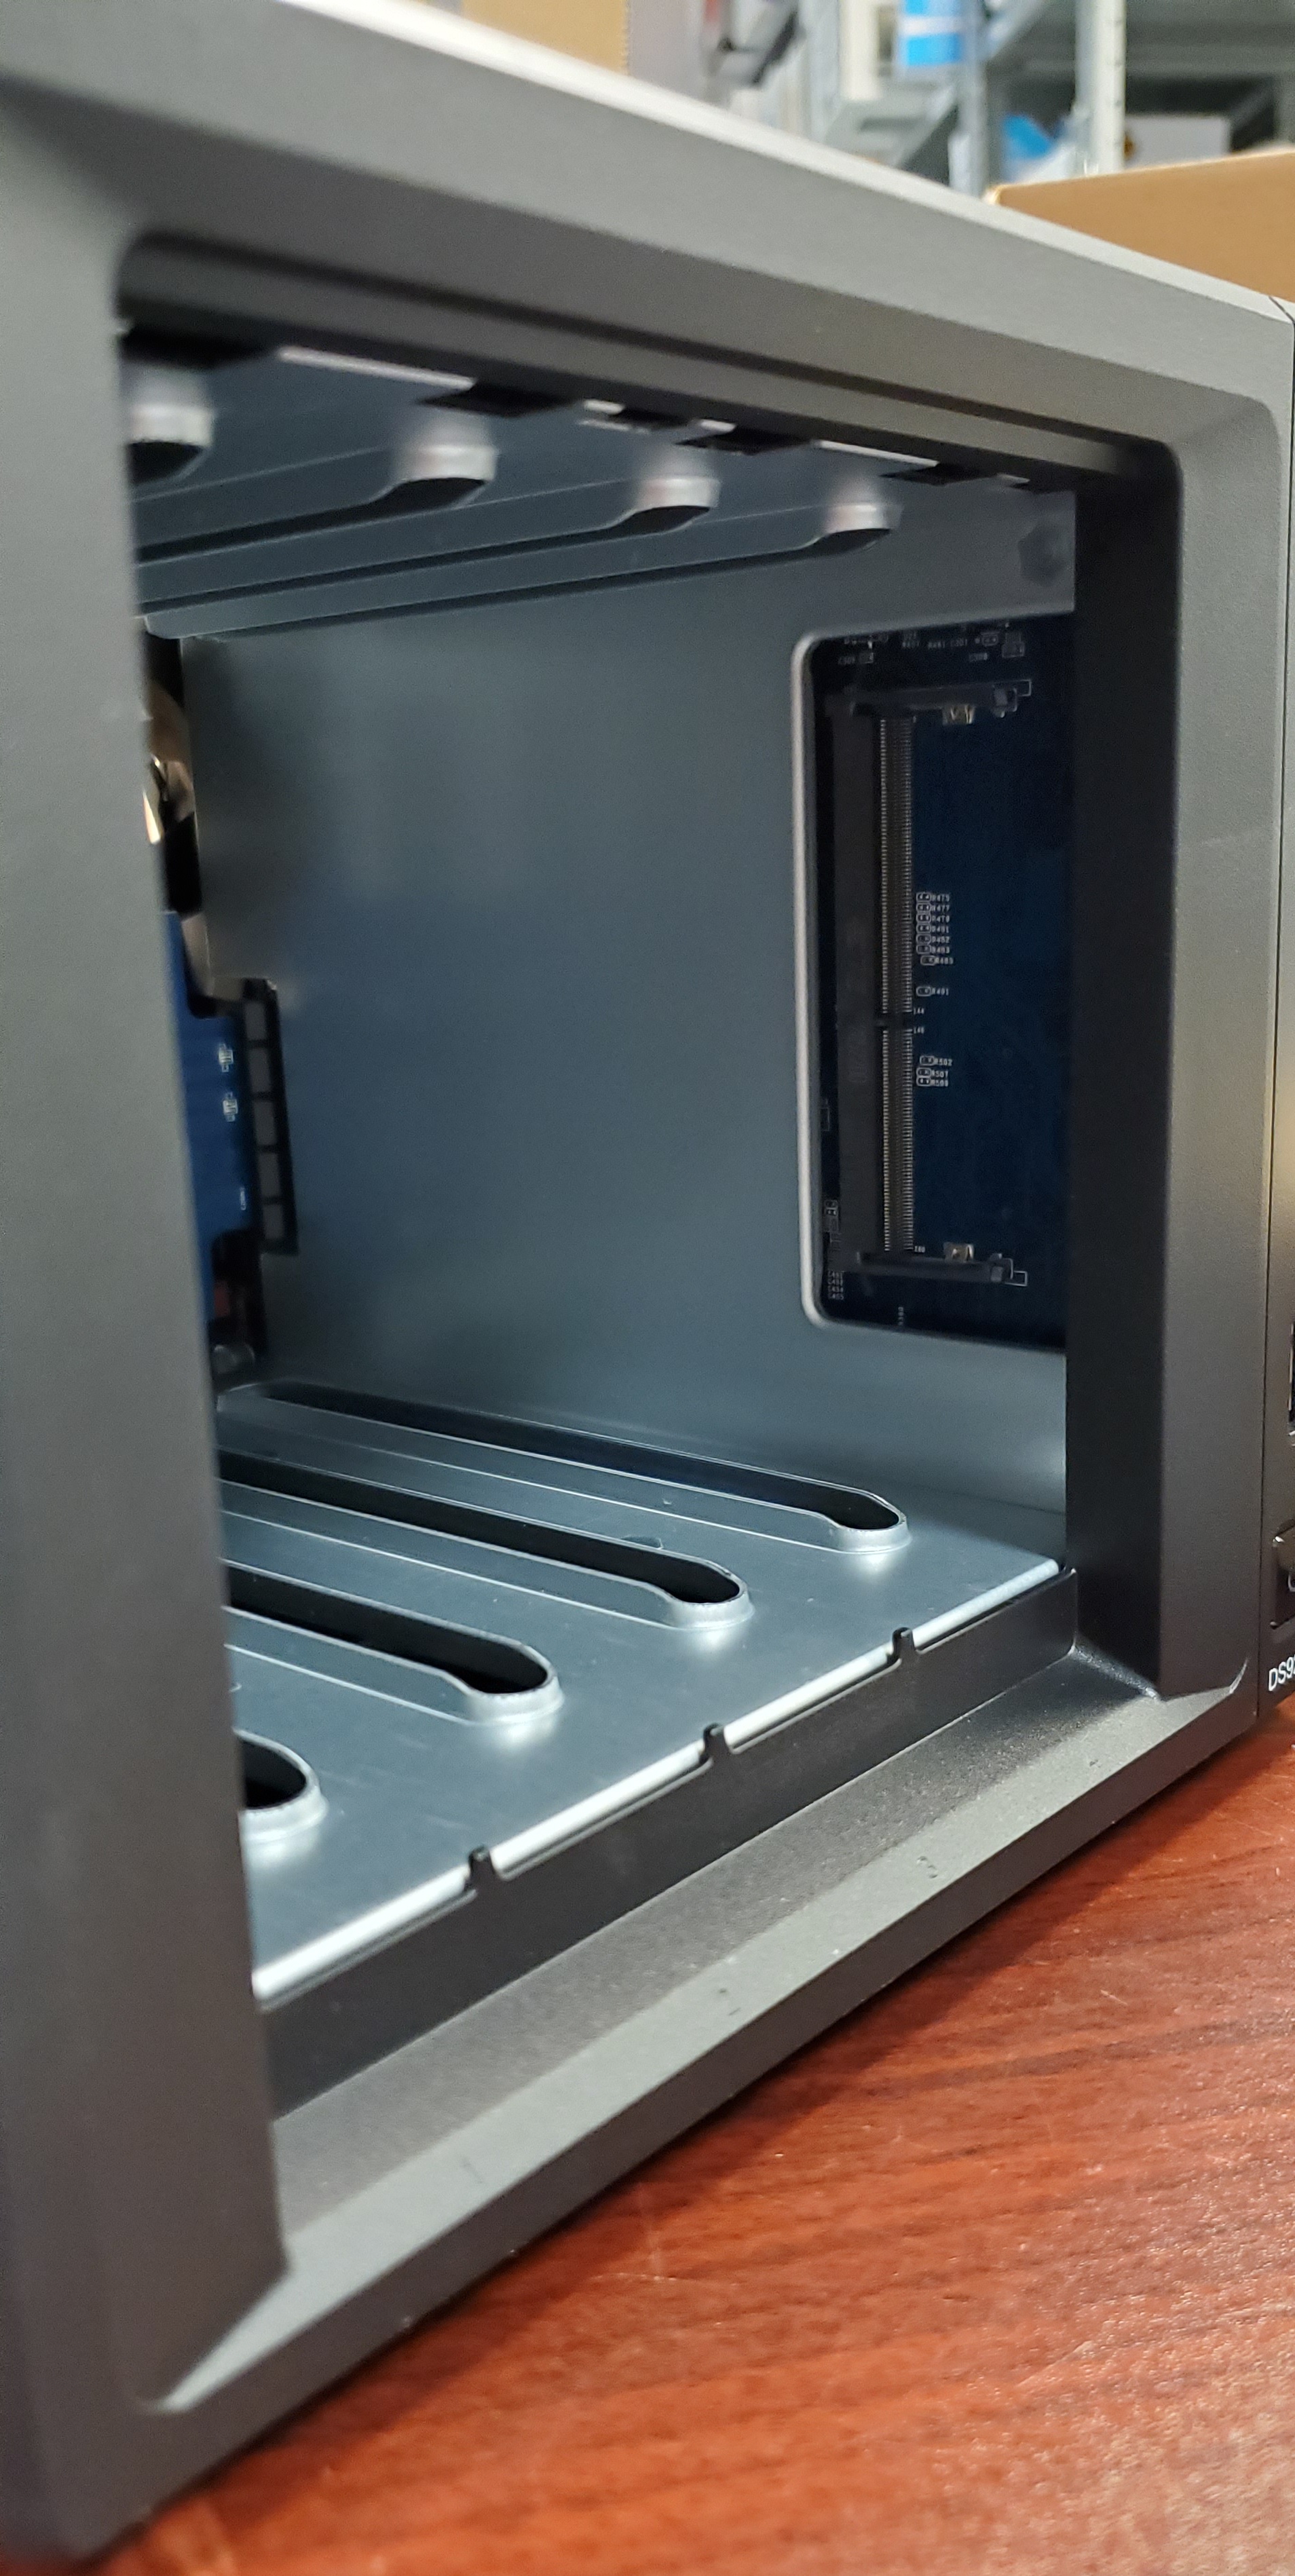
I then seated the 4GB DDR4 DIMM into the expansion slot.
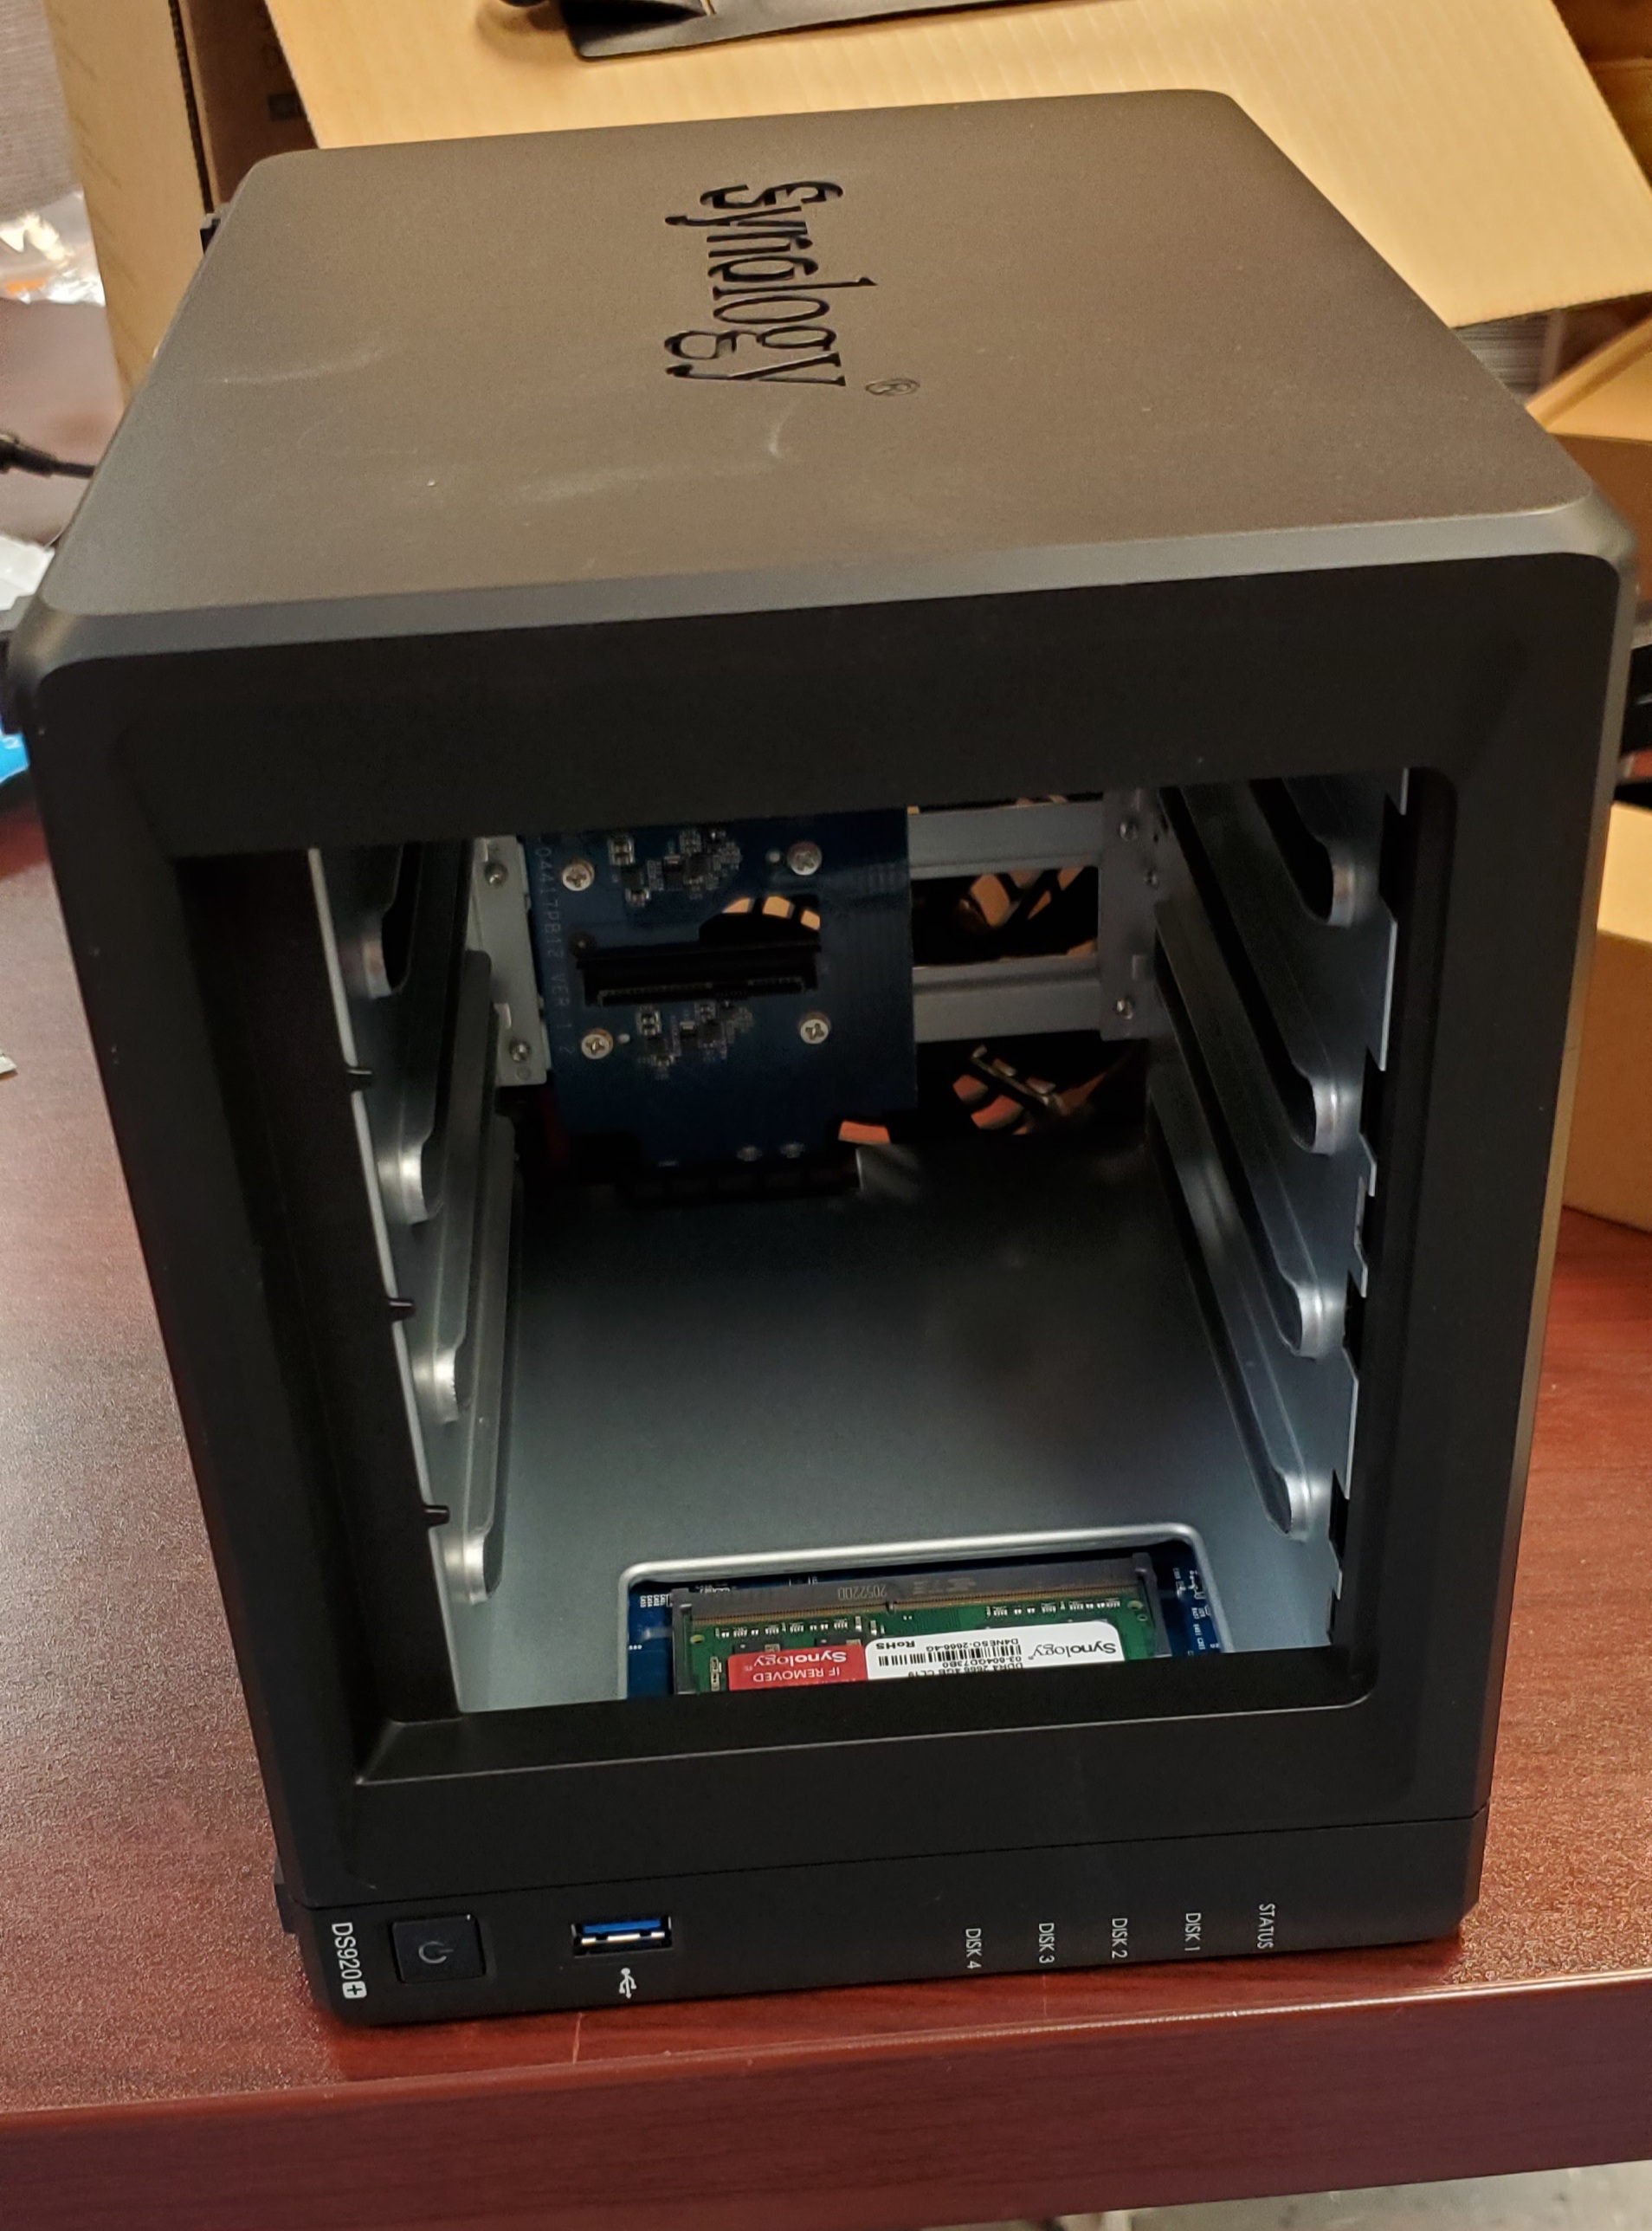
Now time to swap the drives from the DS419+ to the DS920+. They come out of the holders pretty easily. No tools are required. There isn't a specific order in which you're supposed to insert the drives, but I just kept it the same order from the DS419+ to the DS920+.
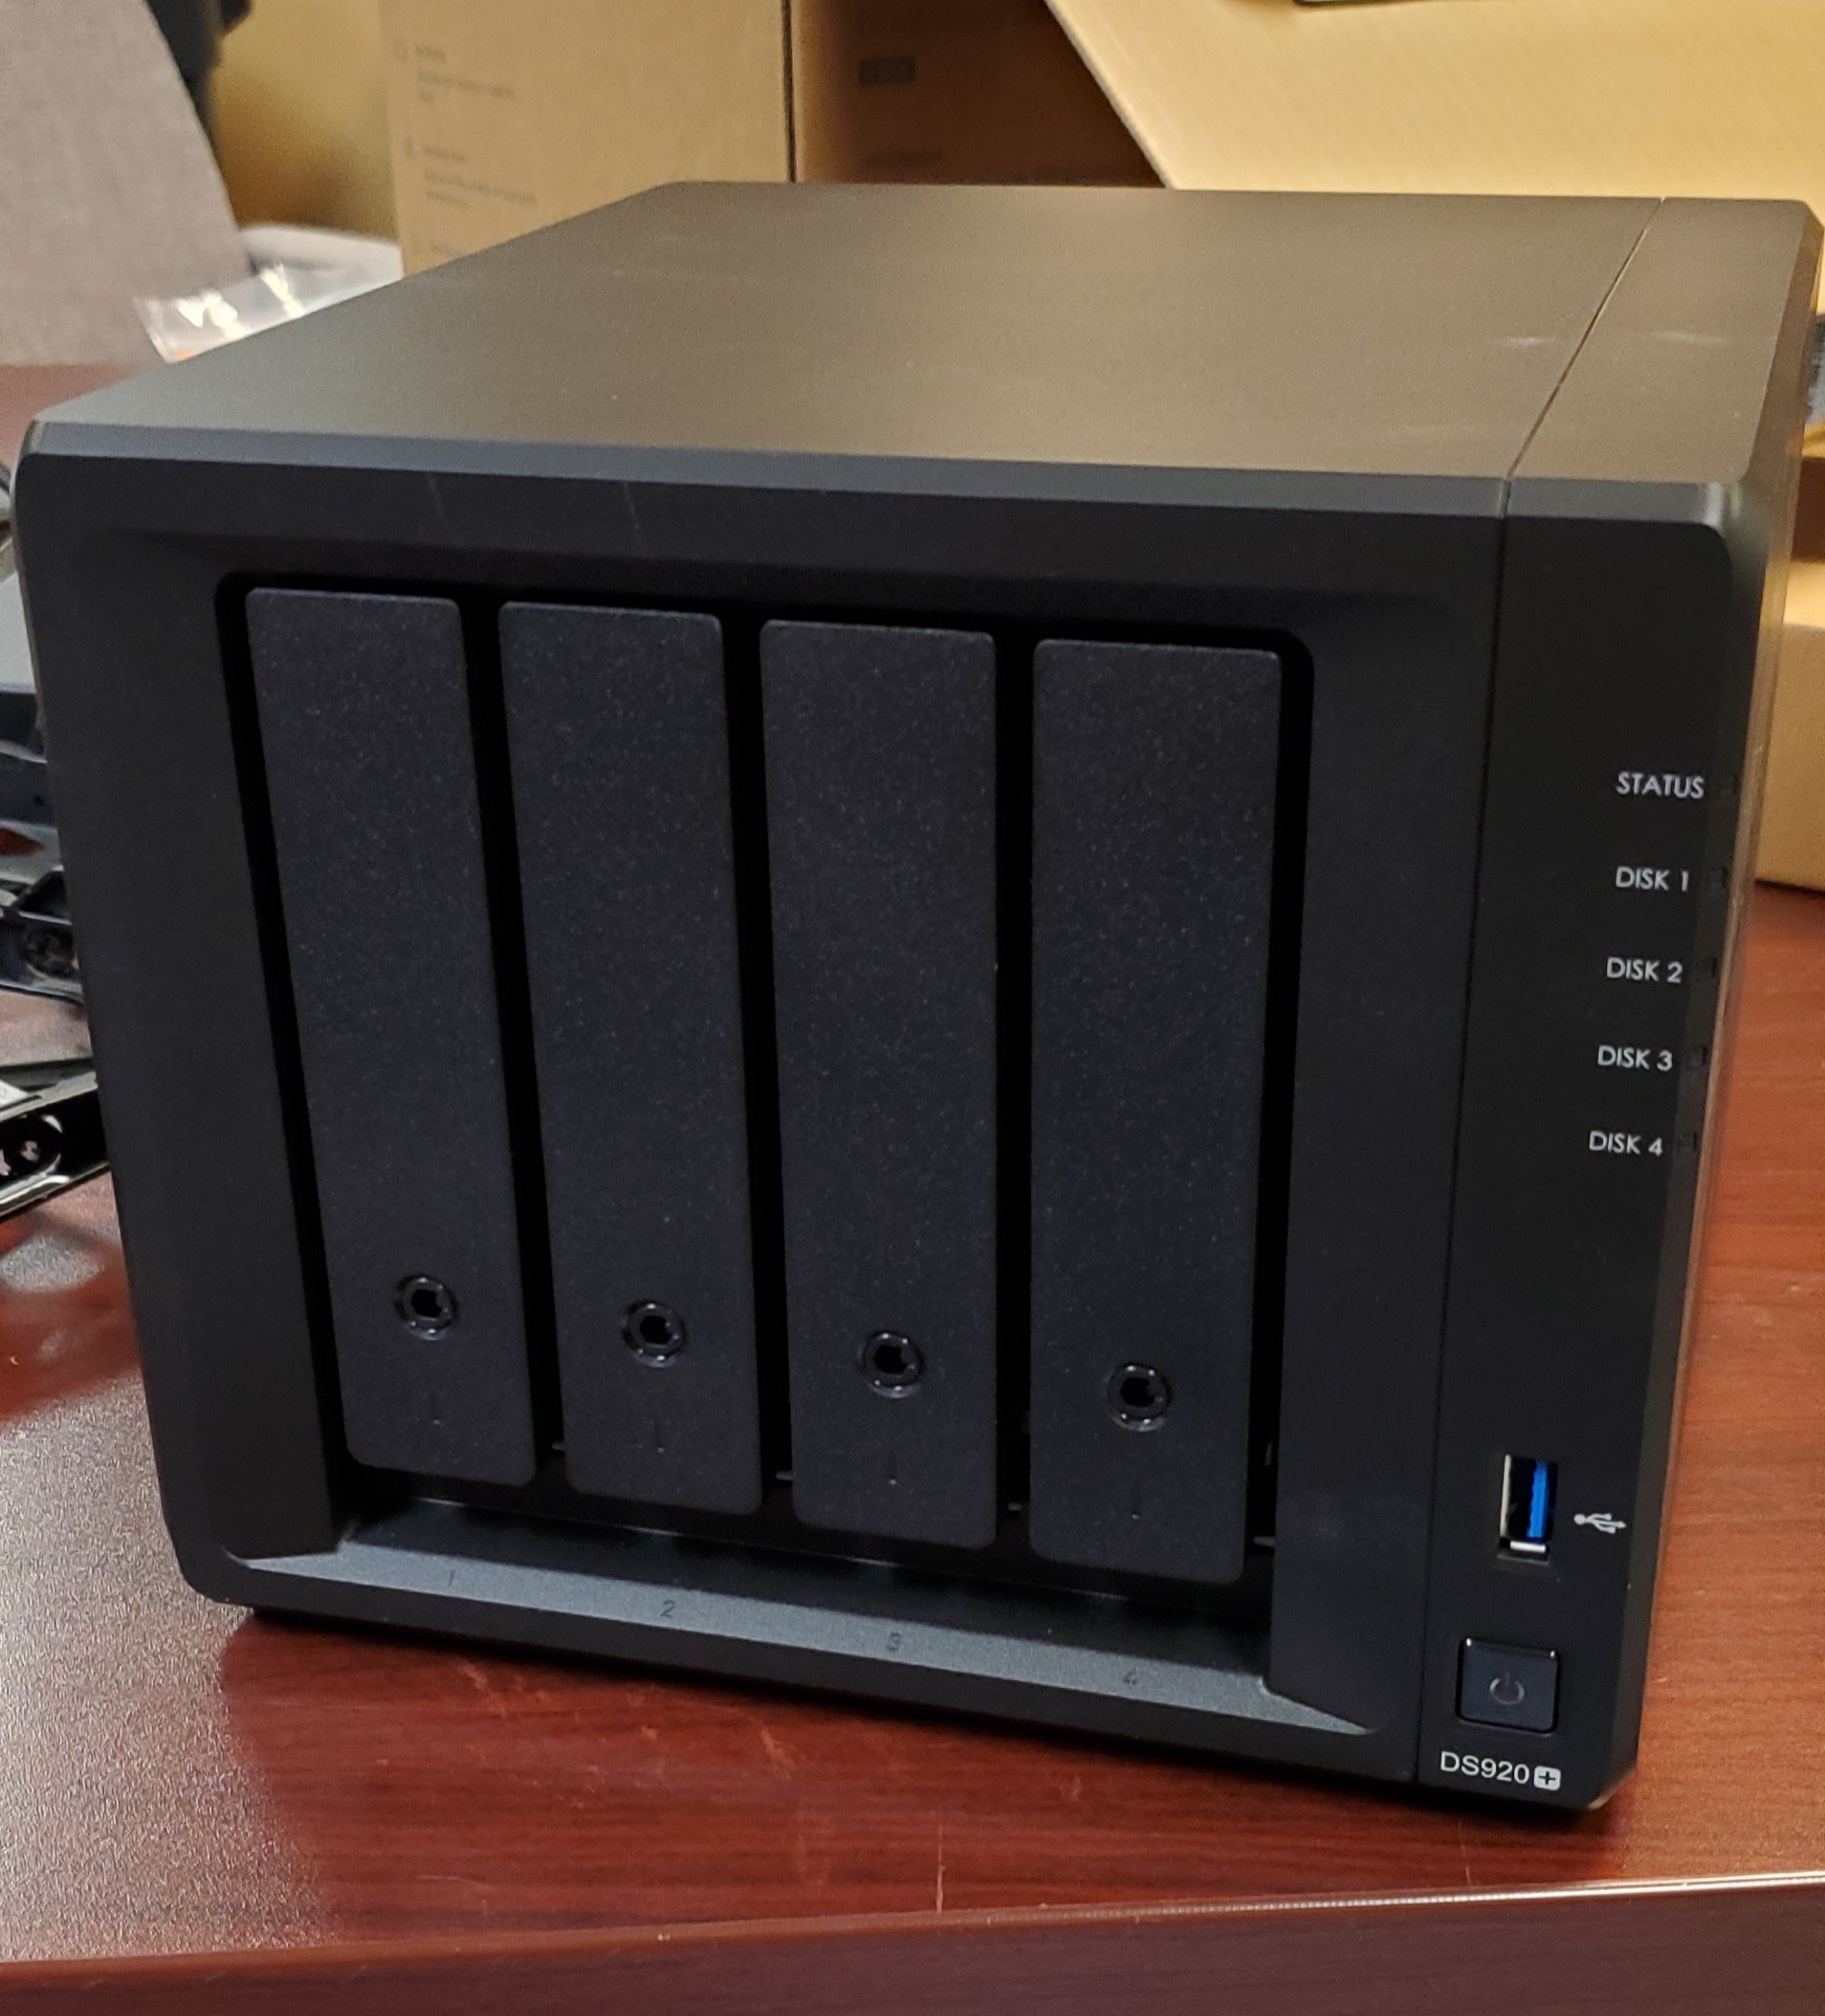
After that, it was time to put the DS920+ back into the data center and connect the power supply and the network cable. We keep ours on a small shelf in the racks. Nothing too fancy here.

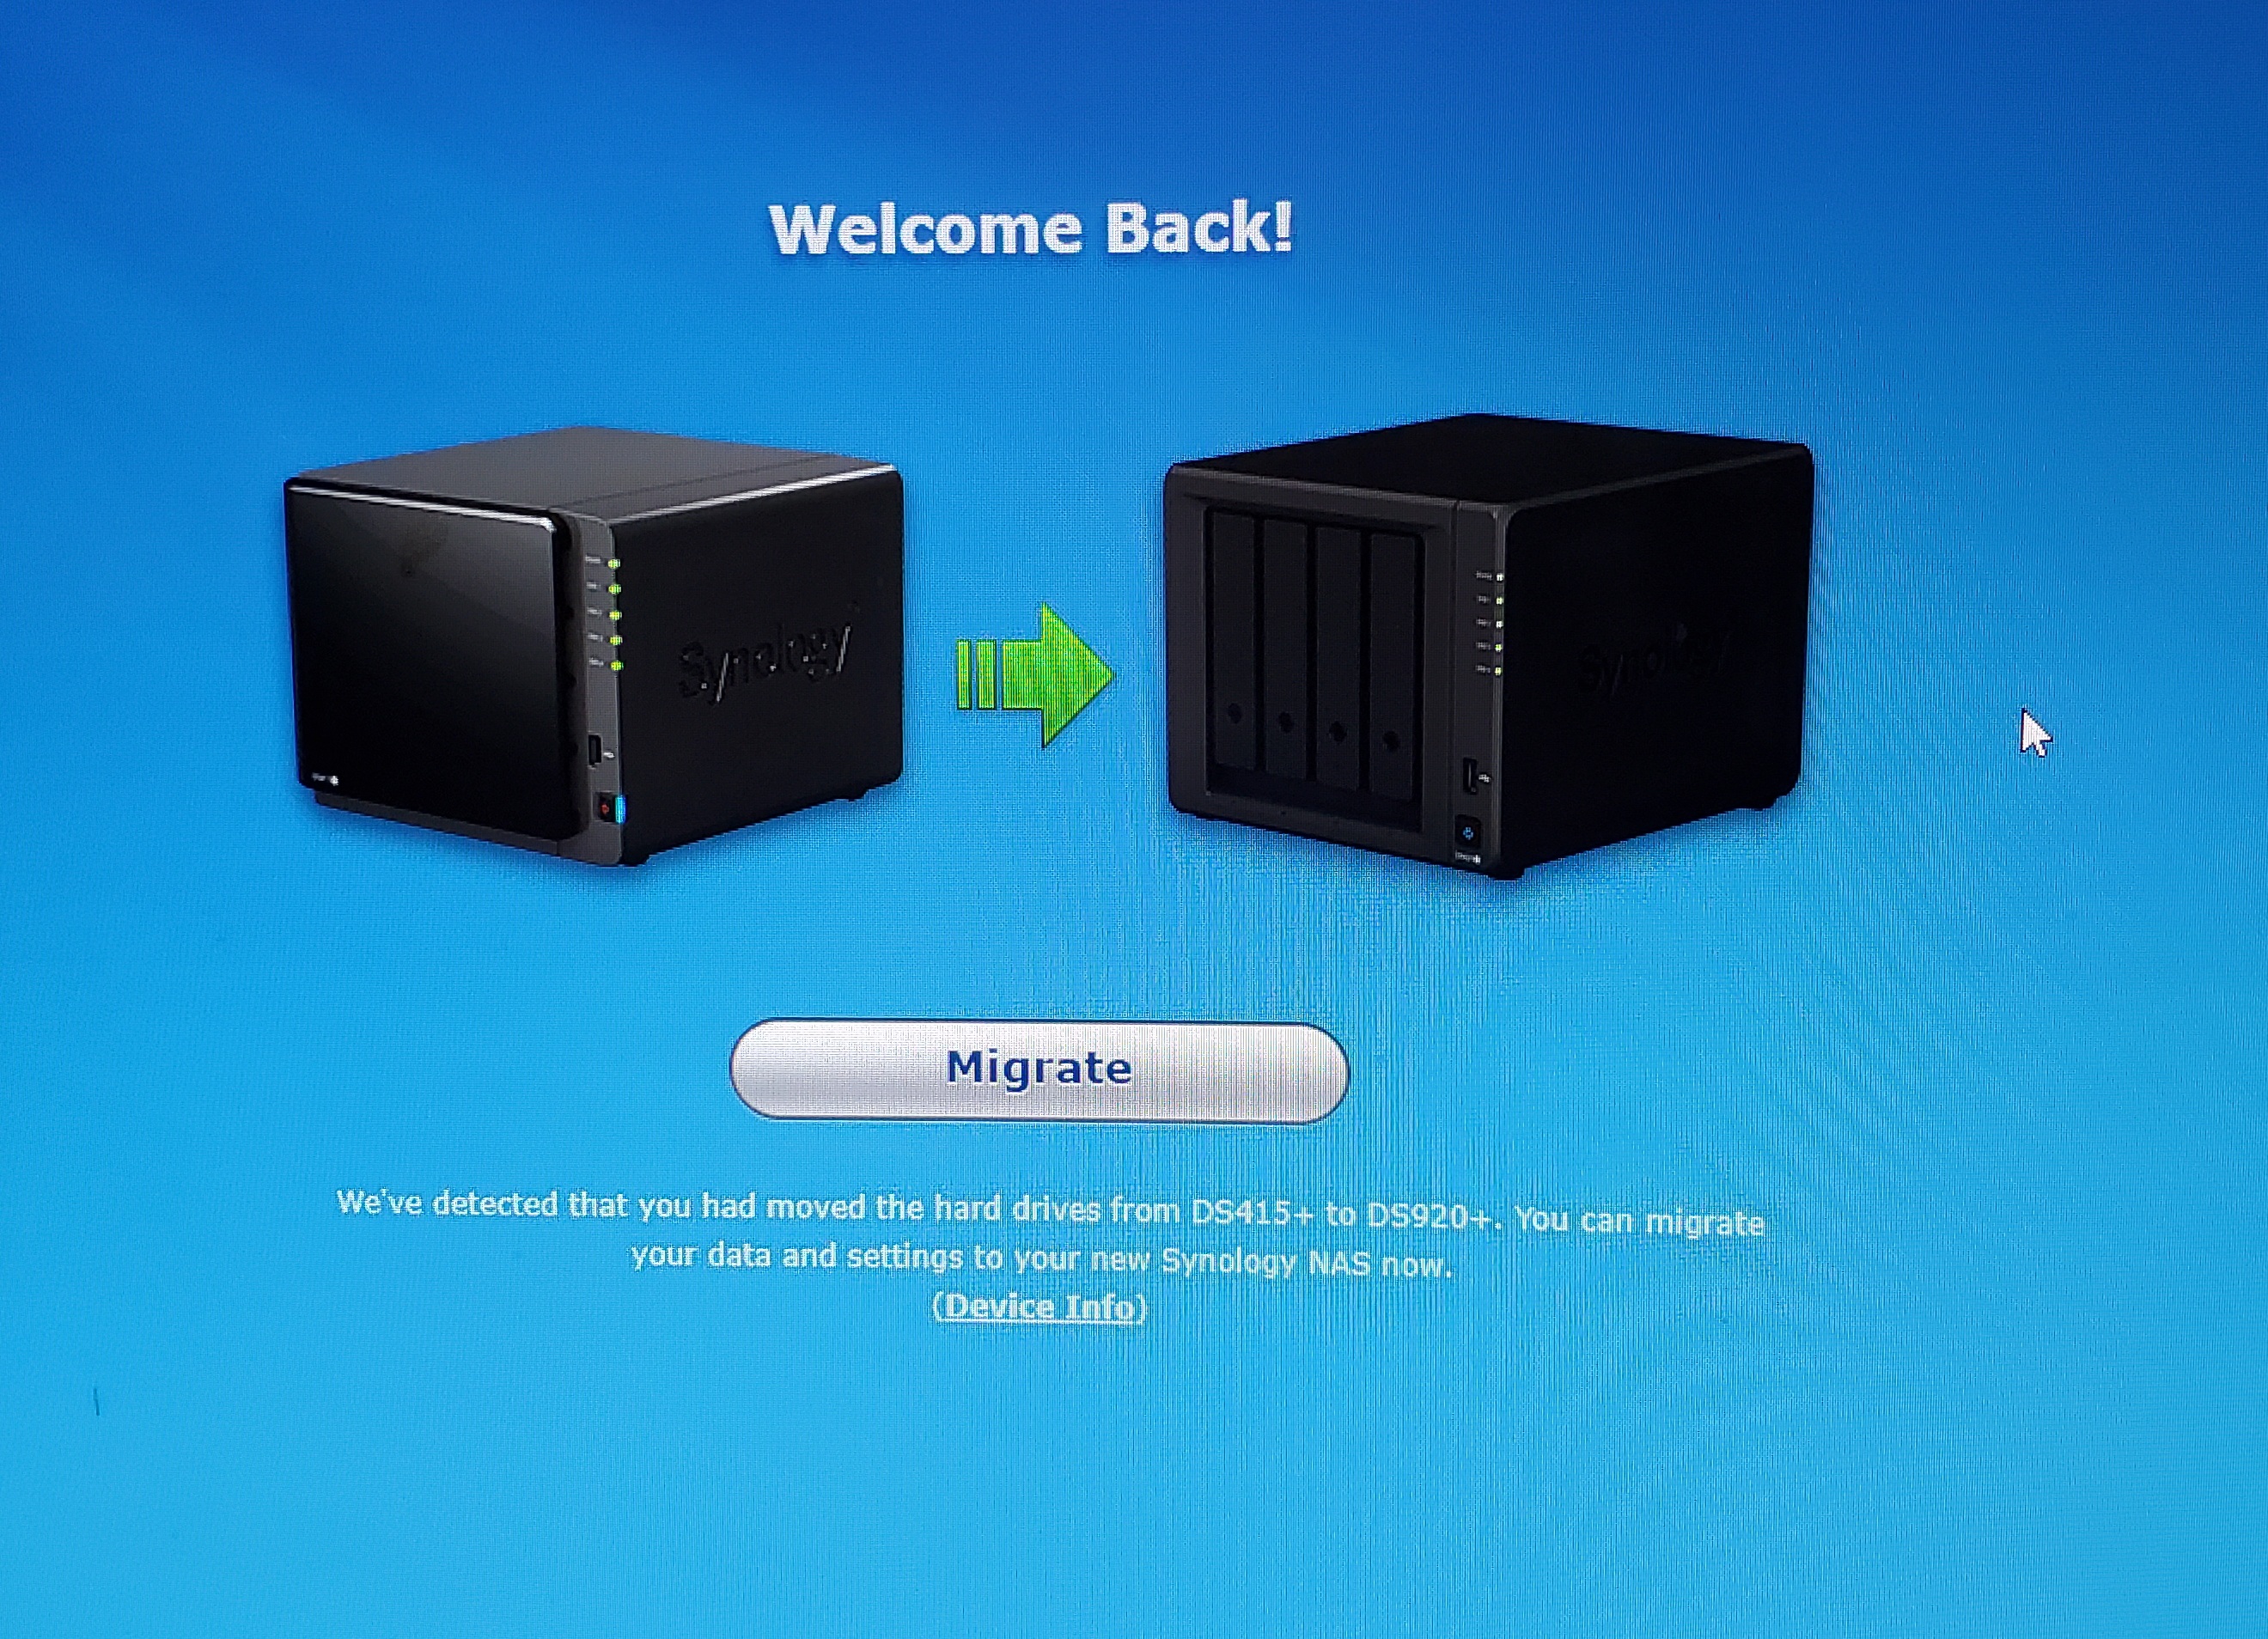
Thankfully Synology has a "find tool" that works perfectly when trying to locate your new Diskstation on your network. The web assistant can be accessed by going to "find.synology.com" in your browser. Once it is found, you can just follow the instructions. The Diskstation will see that you're migrating from one device to another.
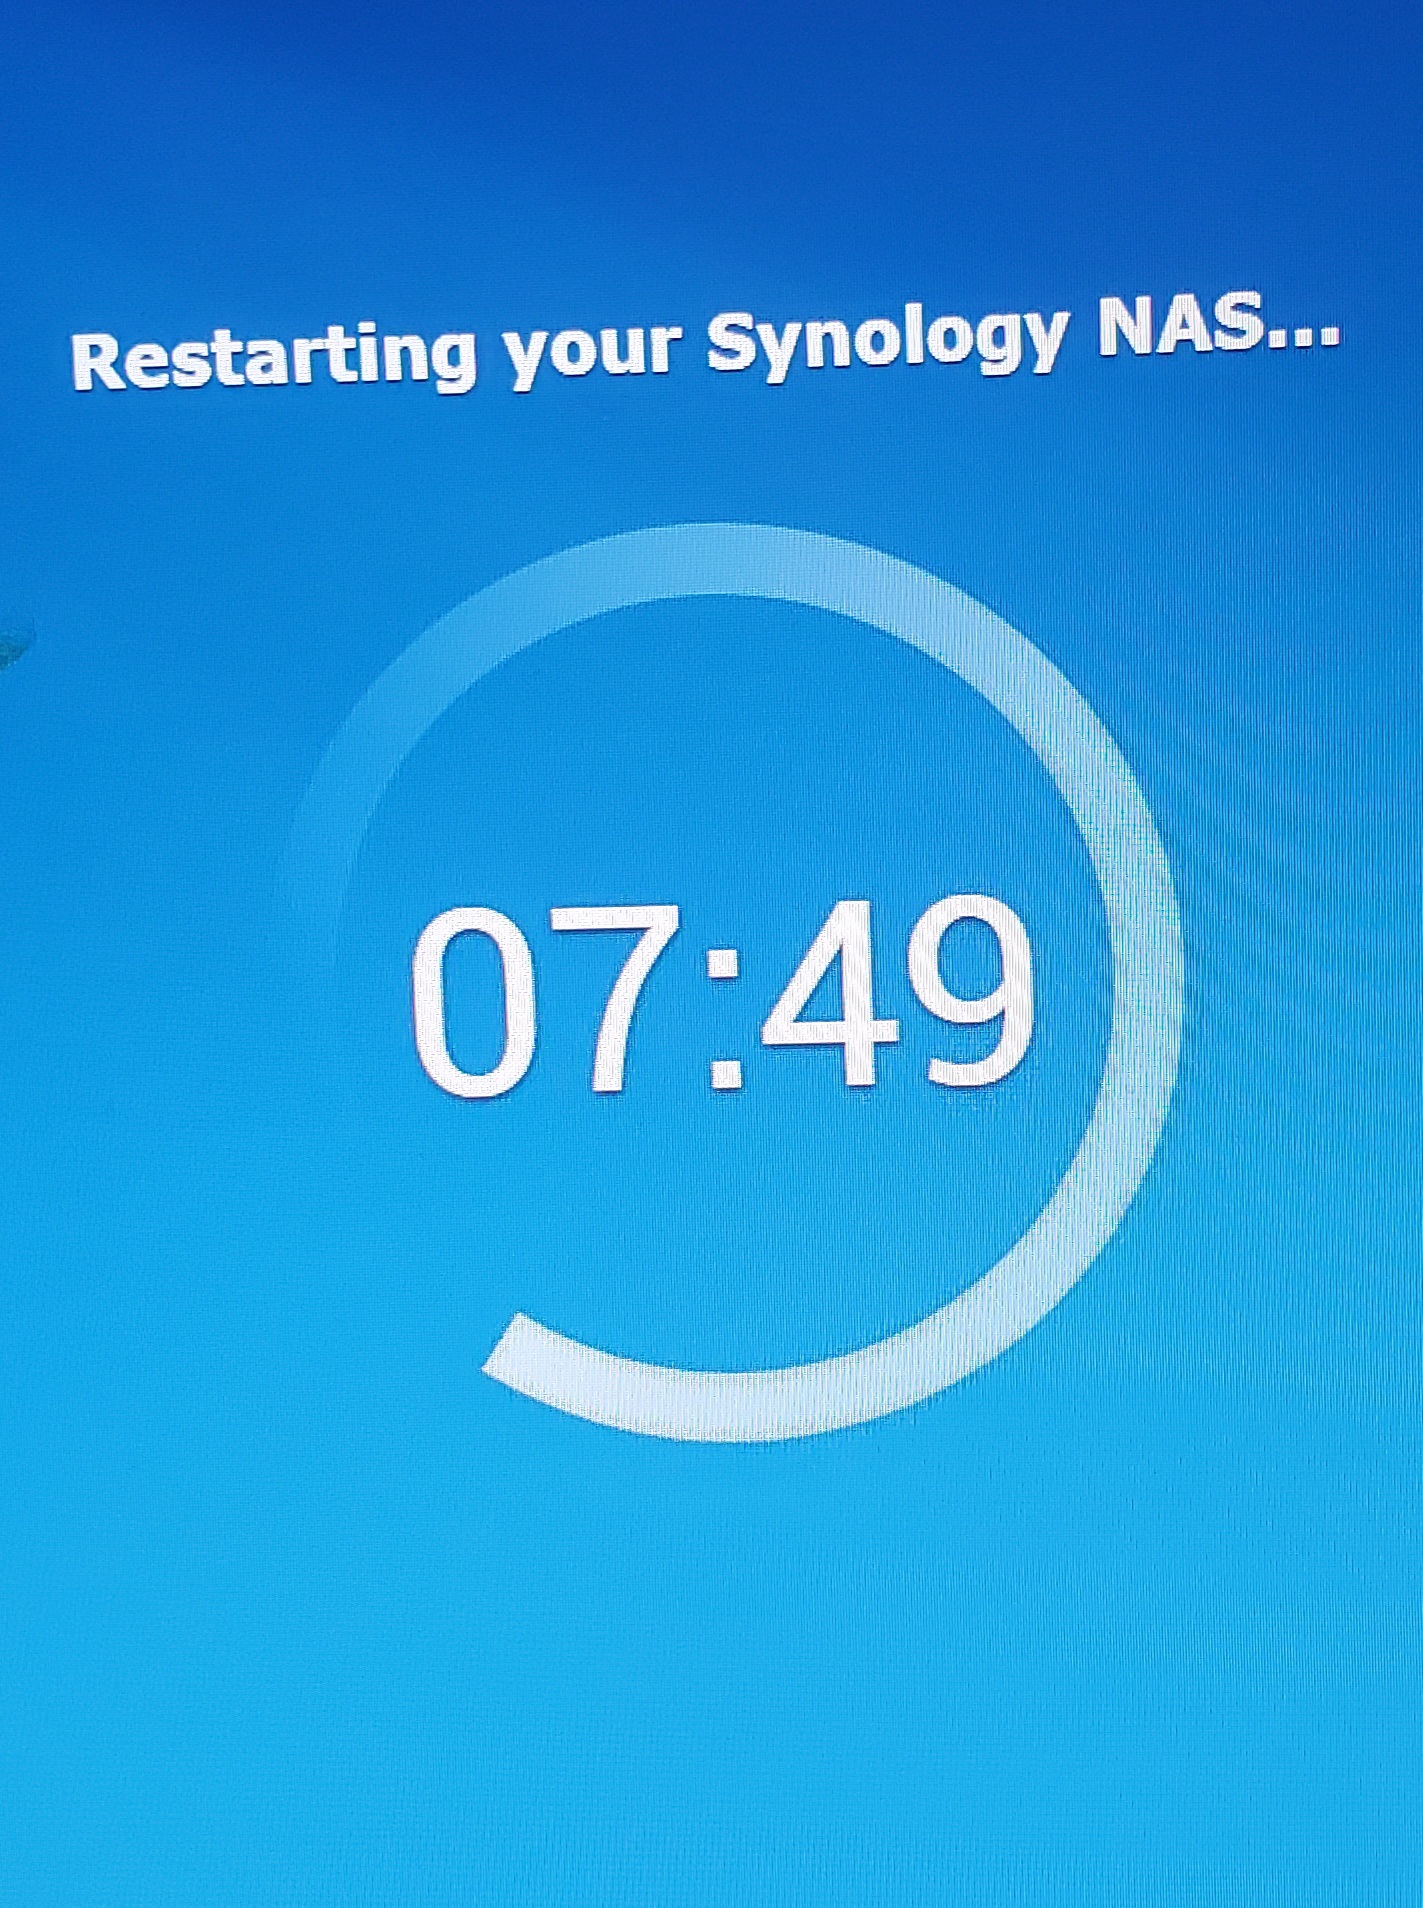
Then you wait about 10 minutes for the migration to finish.
The only issue I had was finding the IP address of the device once it restarted. So I had to go to my Meraki dashboard to find it. After I logged back into the device, I made sure everything was set correctly and my boss confirmed that he could access the cameras via the mobile app.
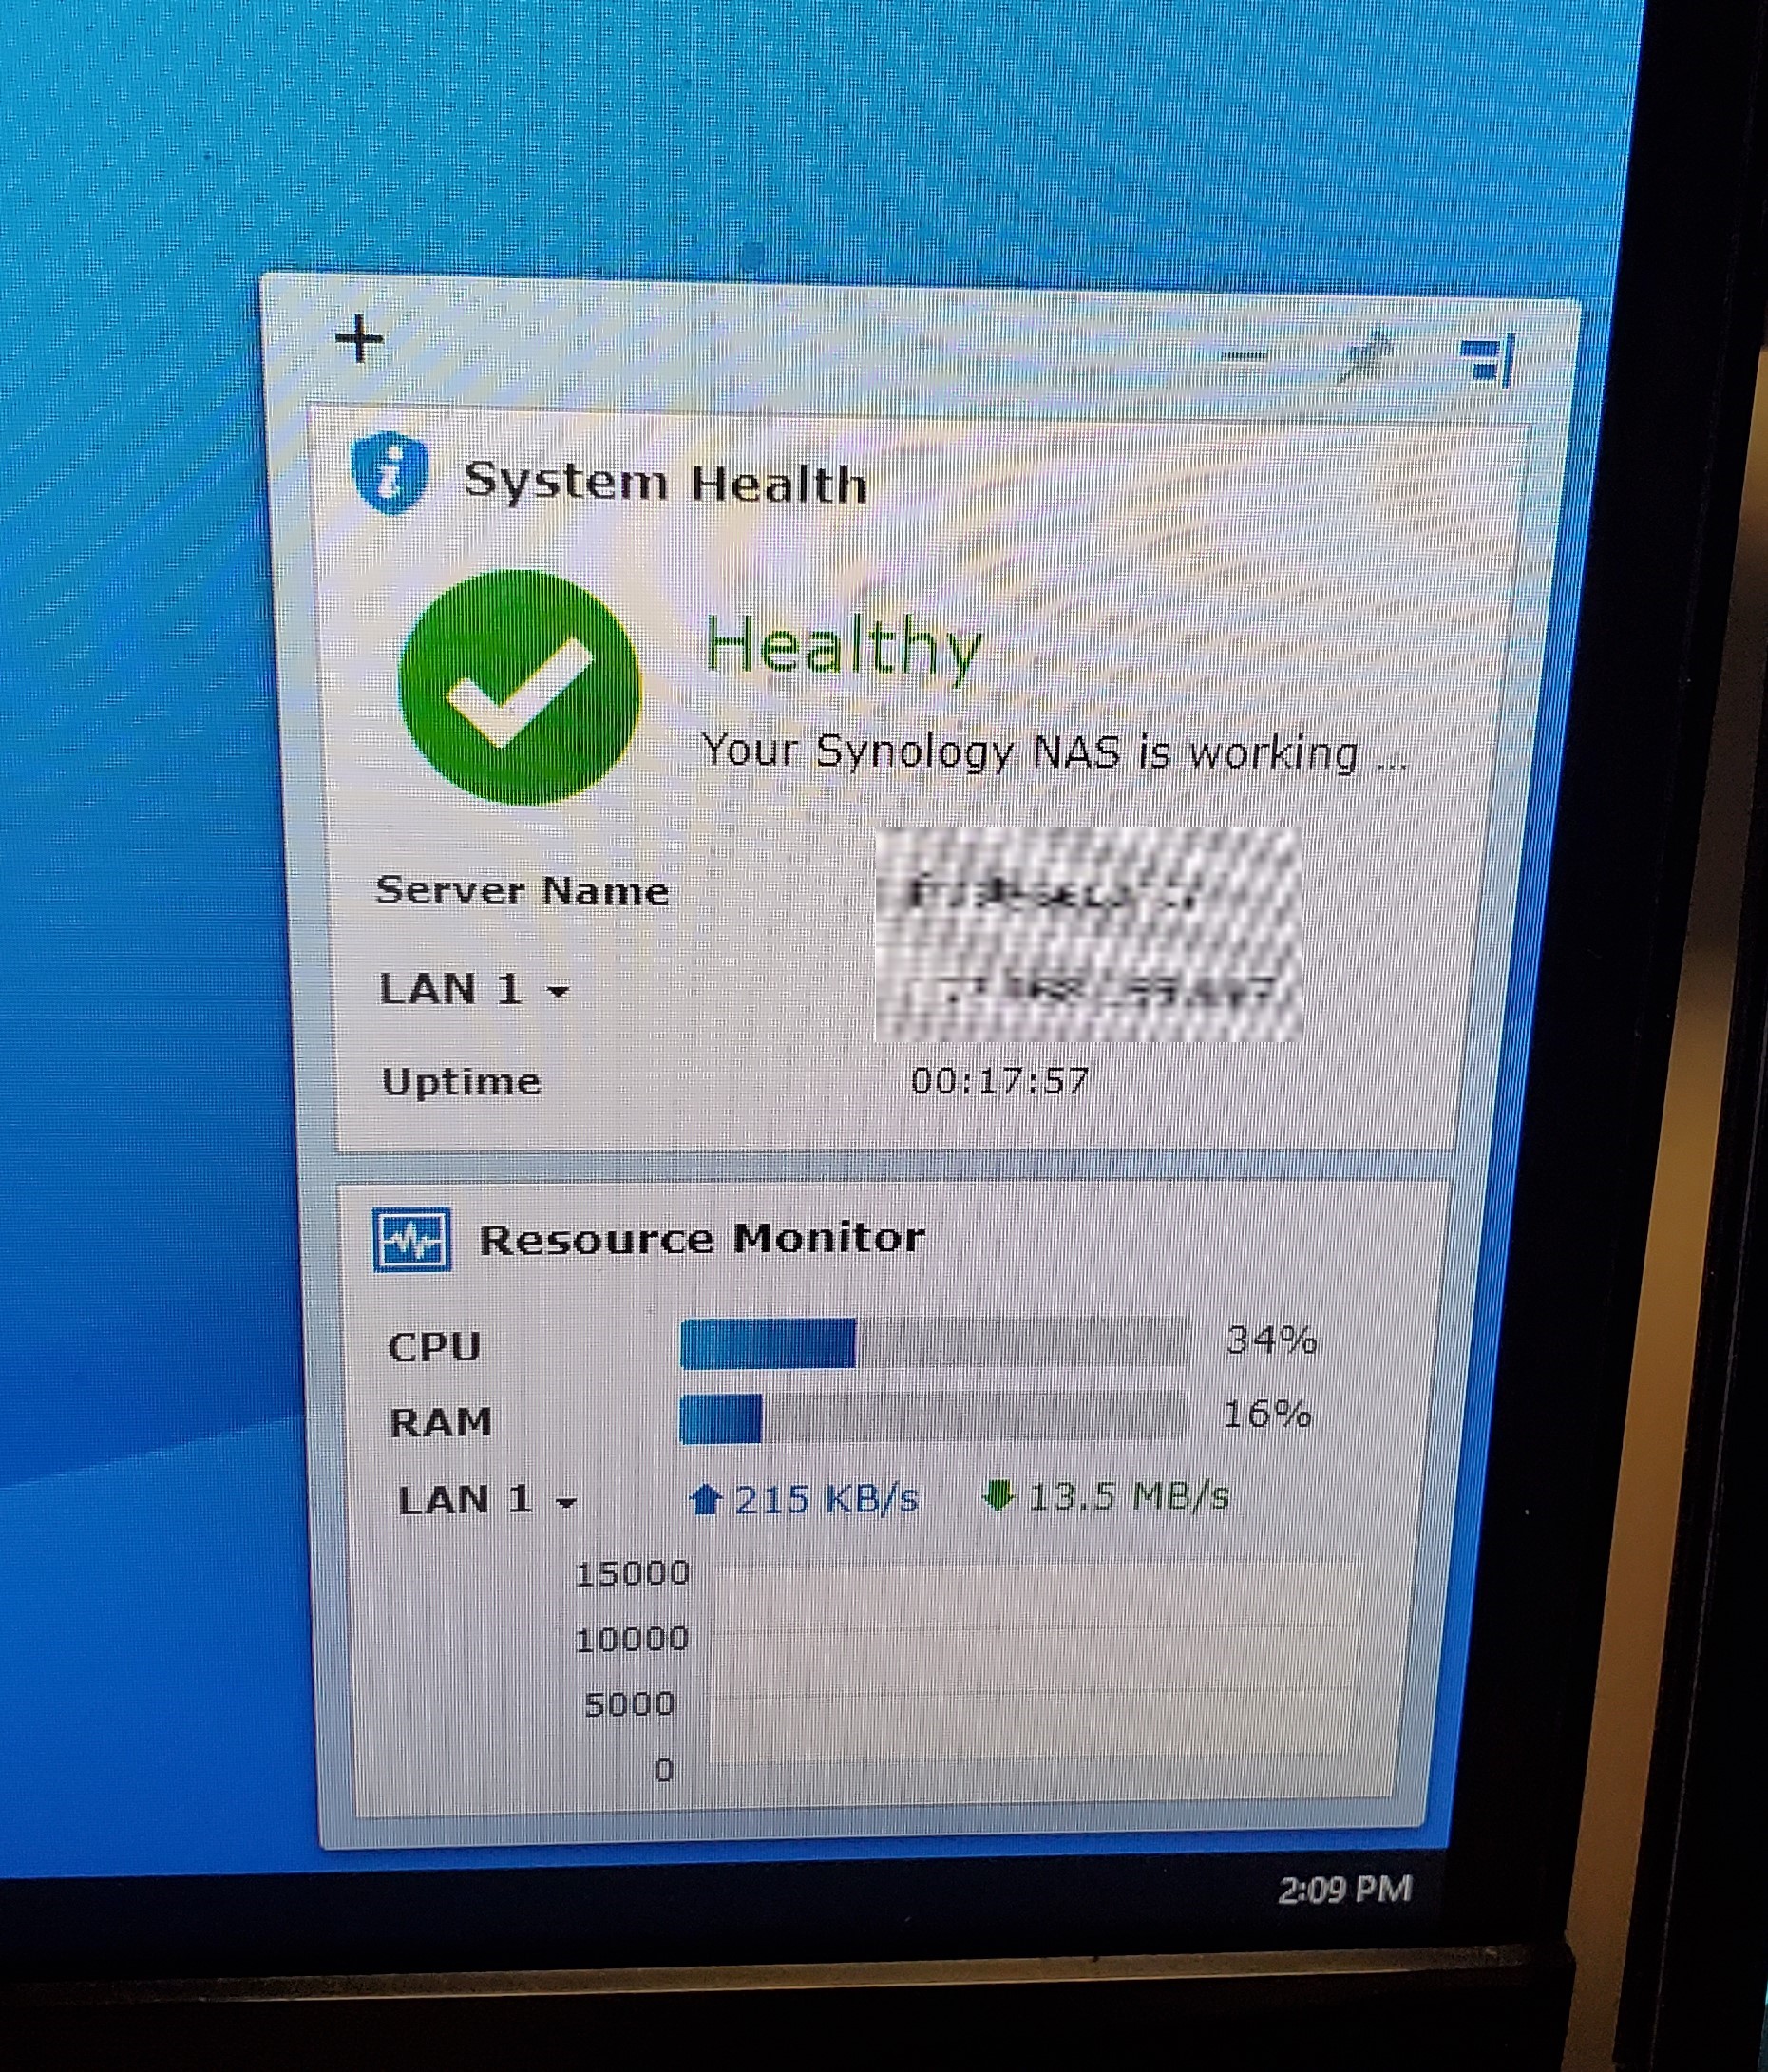
Overall, this probably took me about an hour to get everything back online. I actually enjoy doing small projects like this. Hopefully, this helps someone out. I don't always do just SysAdmin work. Sometimes I've got to get my hands dirty.
I thank you for your time and I hope you enjoyed this!
-Brandon


