

Configure an Apache Webserver on an Ubuntu Server
Part 2 of deploying a LAMP Stack: The letter "A"

My name is Brandon, and I currently work as an Information Technology Consultant in the Atlanta metropolitan area.
I am not a developer, but I enjoy learning about cloud and data center technologies. I also technically own "Brandon's Cloud, LLC" as my own consulting company.
If you didn't know... LAMP stands for Linux, Apache, MySQL, and PHP. These applications working together provide a complete framework for web applications. To get a better understanding of how a LAMP stack works, check out this easy-to-understand article written by Kanishkvardhan A N. Kanishkvardhan A N is a sophomore at SDM College of Engineering and Technology pursuing his B.E in Information Science and Engineering.
Today we're going to quickly cover the letter "A" in LAMP; Apache.
As a Systems Manager or Infrastructure Architect, you don't need to know how to create a complete web application from top to bottom. But you should be familiar with how these services work together and how to quickly deploy the backend infrastructure when needed.
In a previous post, I went over how to deploy the "L" portion of the stack by quickly deploying an Ubuntu Server 20.04 LTS VM on an ESXi host.
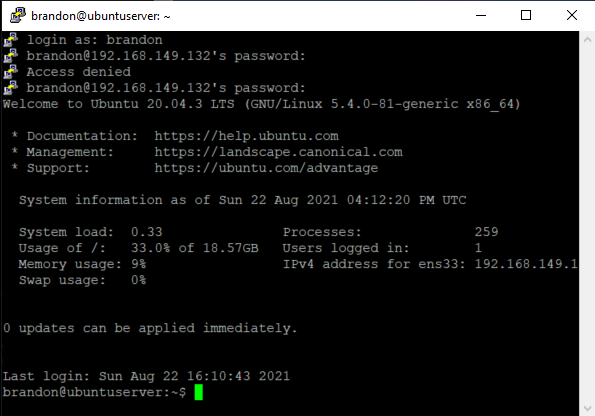
I've just logged in to my Virtual Machine using the Putty SSH Client application. I find this easier than working on a console from the ESXi host because I can easily copy and paste commands into the terminal through Putty. As you can see, the Server is pretty up to date.
Next, I will bring up the Ubuntu Server documentation on installing Apache.
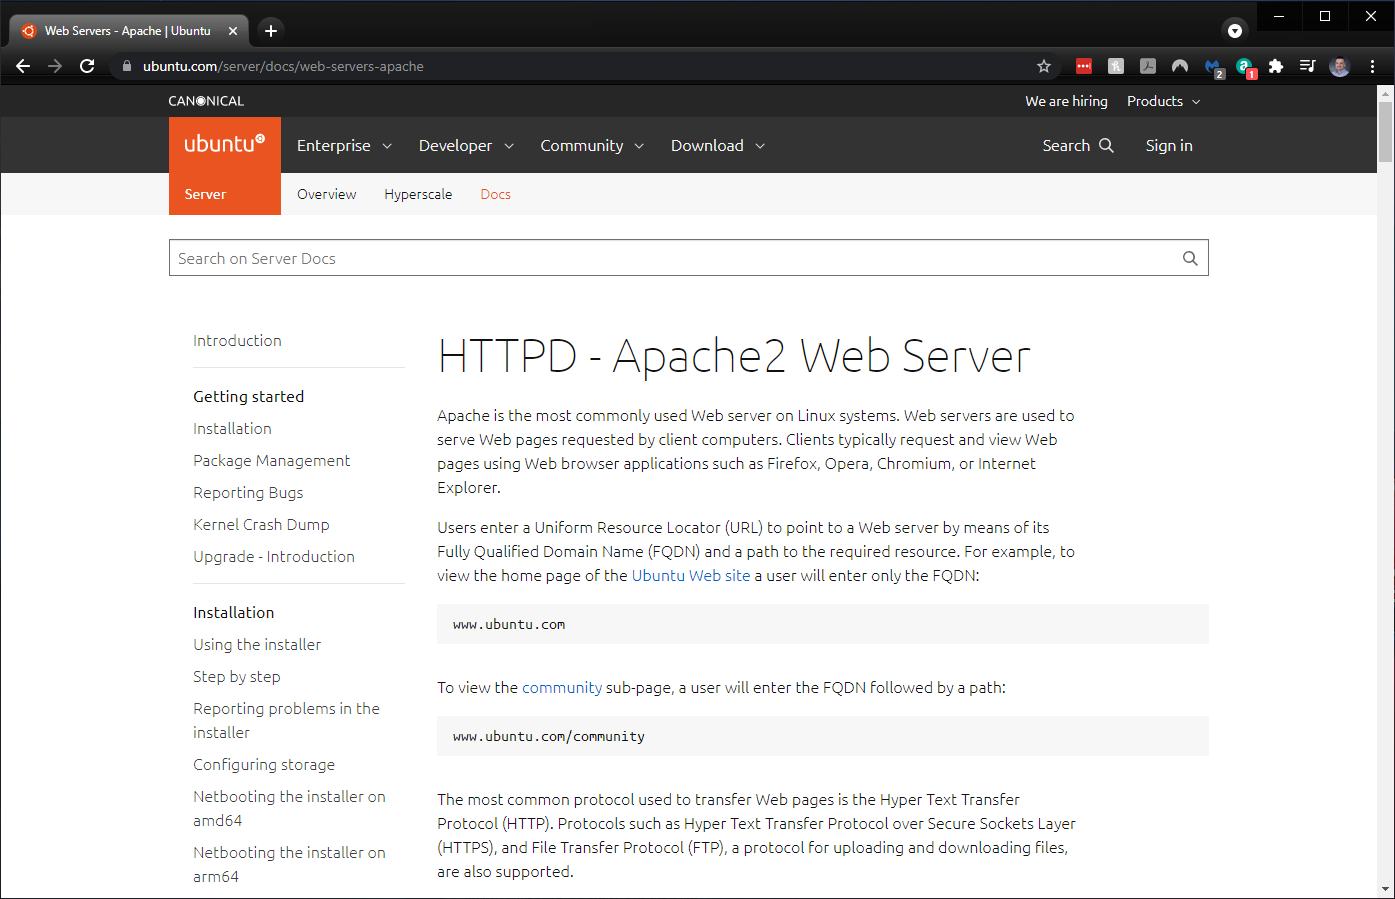
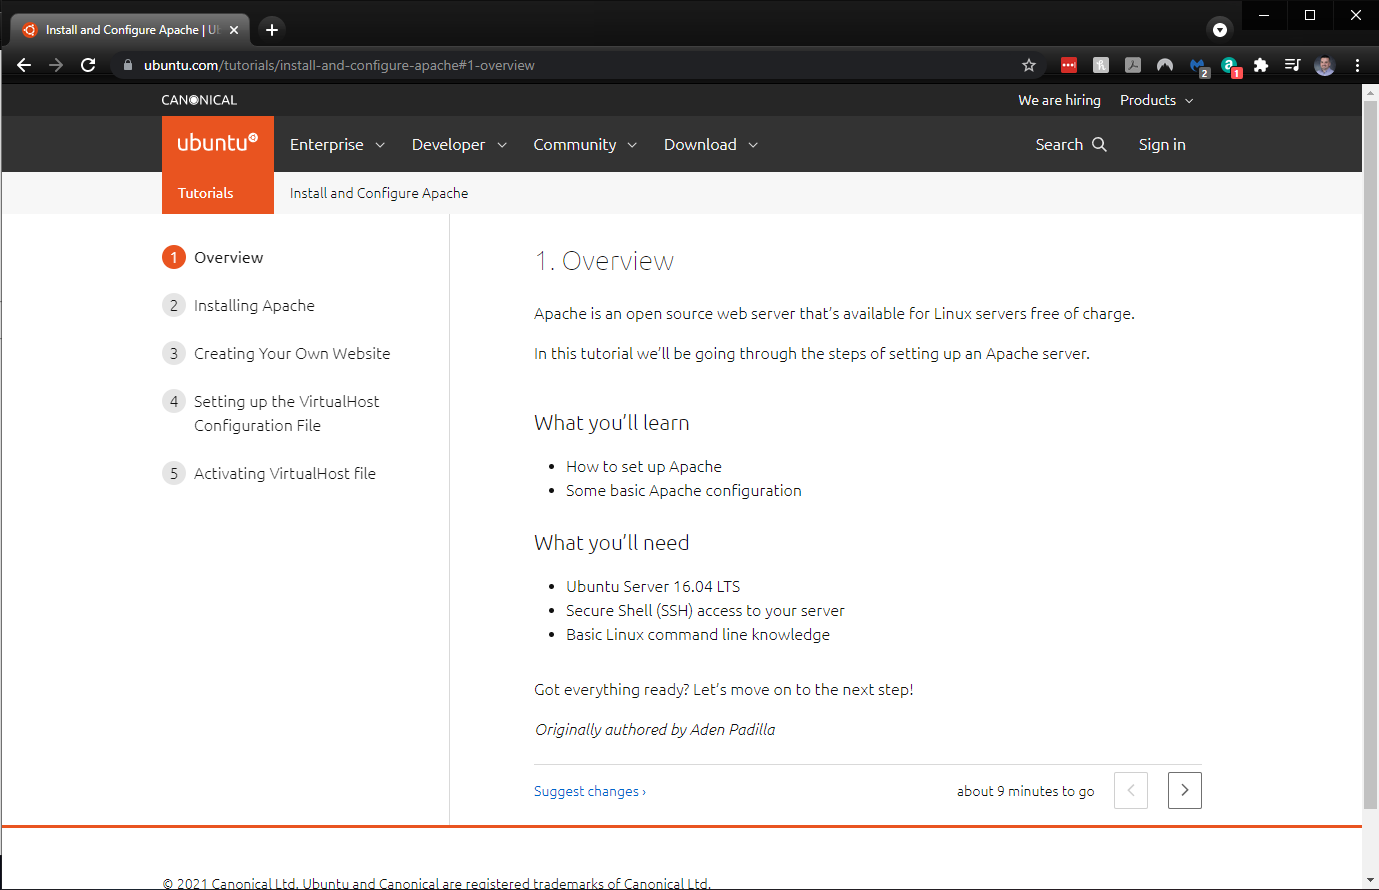
You can use the above documentation or even use the tutorial lesson provided by Ubuntu.
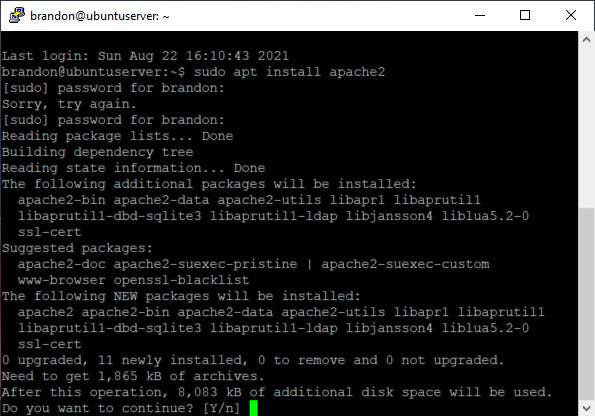
I will then type in the following command to install the Apache webserver:
sudo apt install apache2
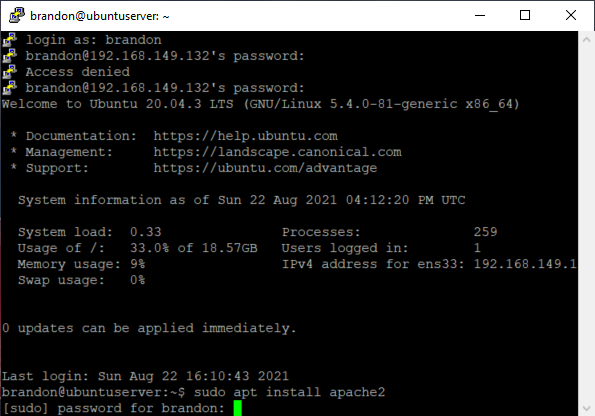
The console will then ask me if I want to continue. Of course, I do!
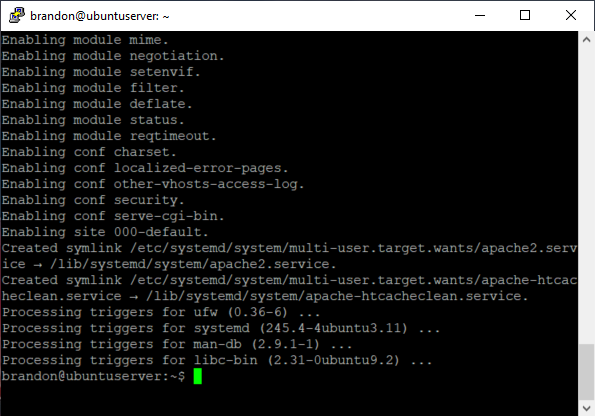
There shouldn't be any errors and you will then be brought back to your command prompt.
We can now test out your Apache2 installation by typing the IP address for the webserver into a browser page. Be sure to have port 80 and port 443 allowed through your UFW.
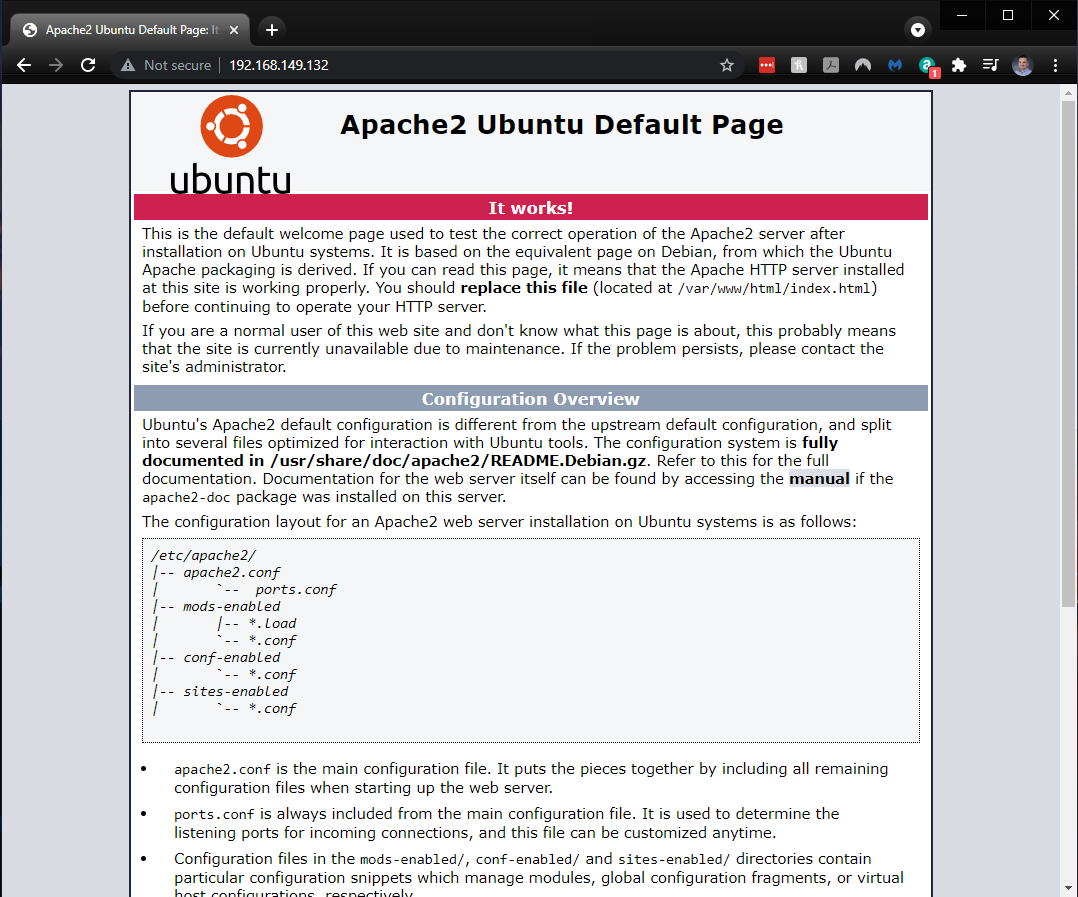
It works!
That's all you need to do. You can now pass this on to your web developer for use.
Nice and easy. Part 3 is the "M" portion; MySQL. Coming soon!
Thanks again for reading!


